For all your string instrument needs
Best Sellers


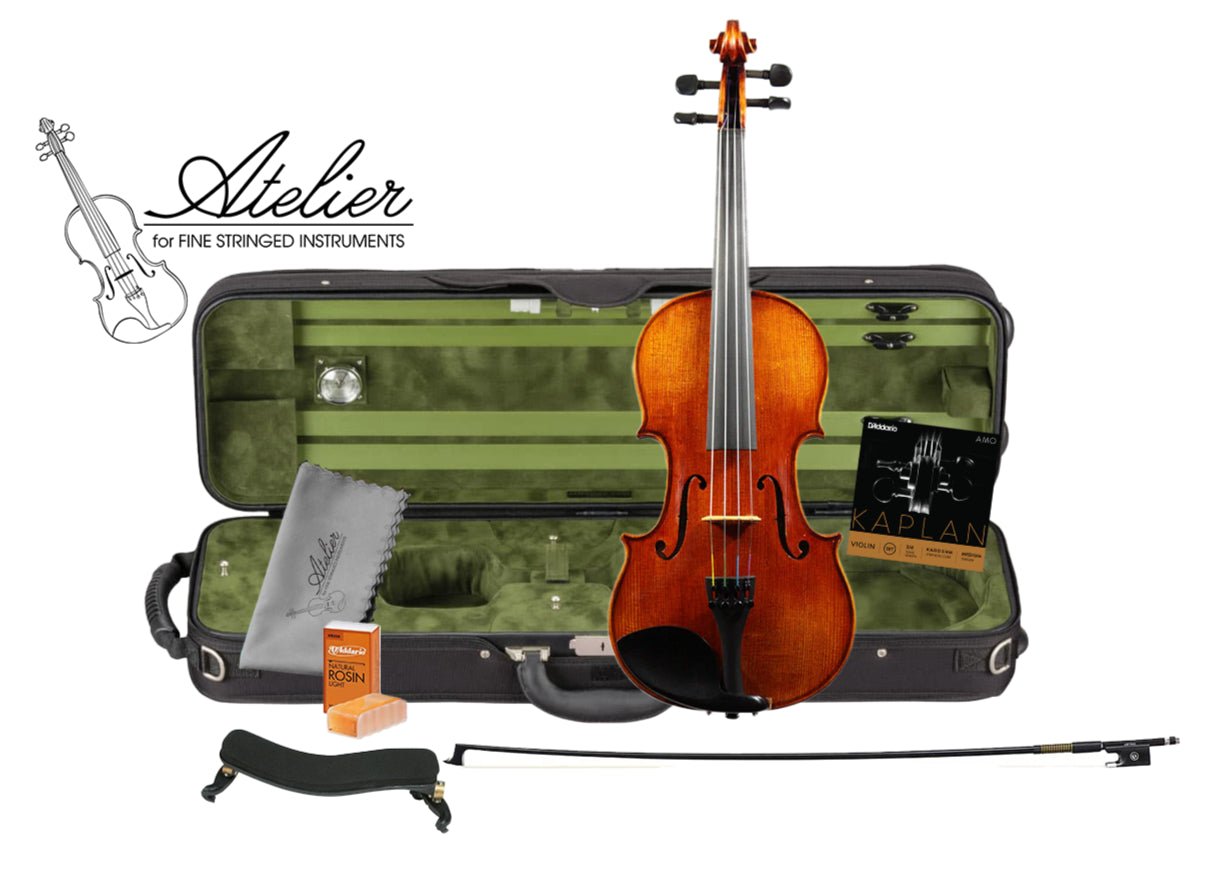
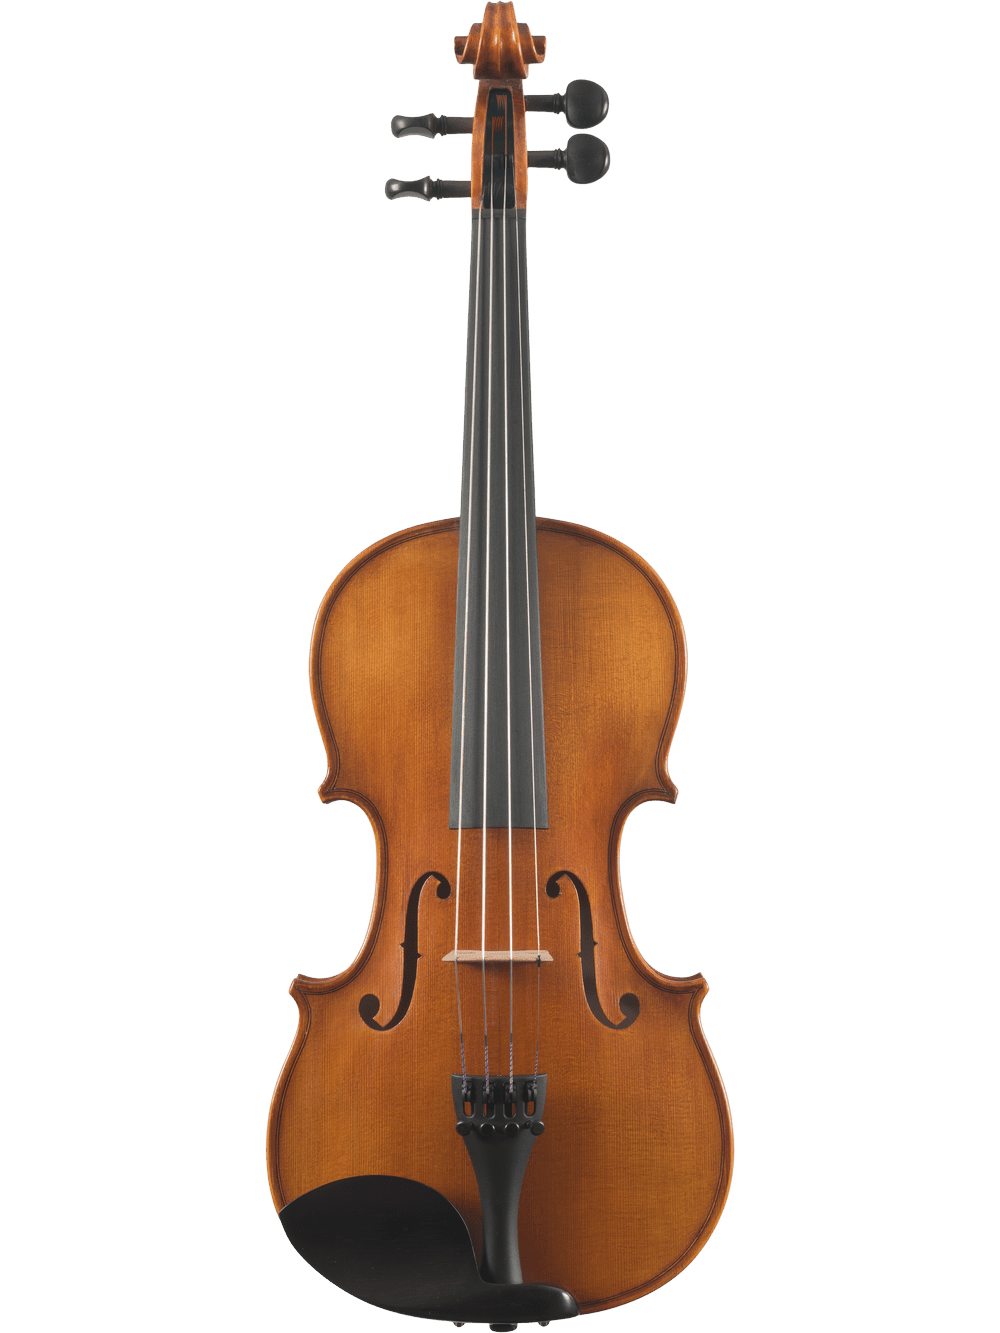
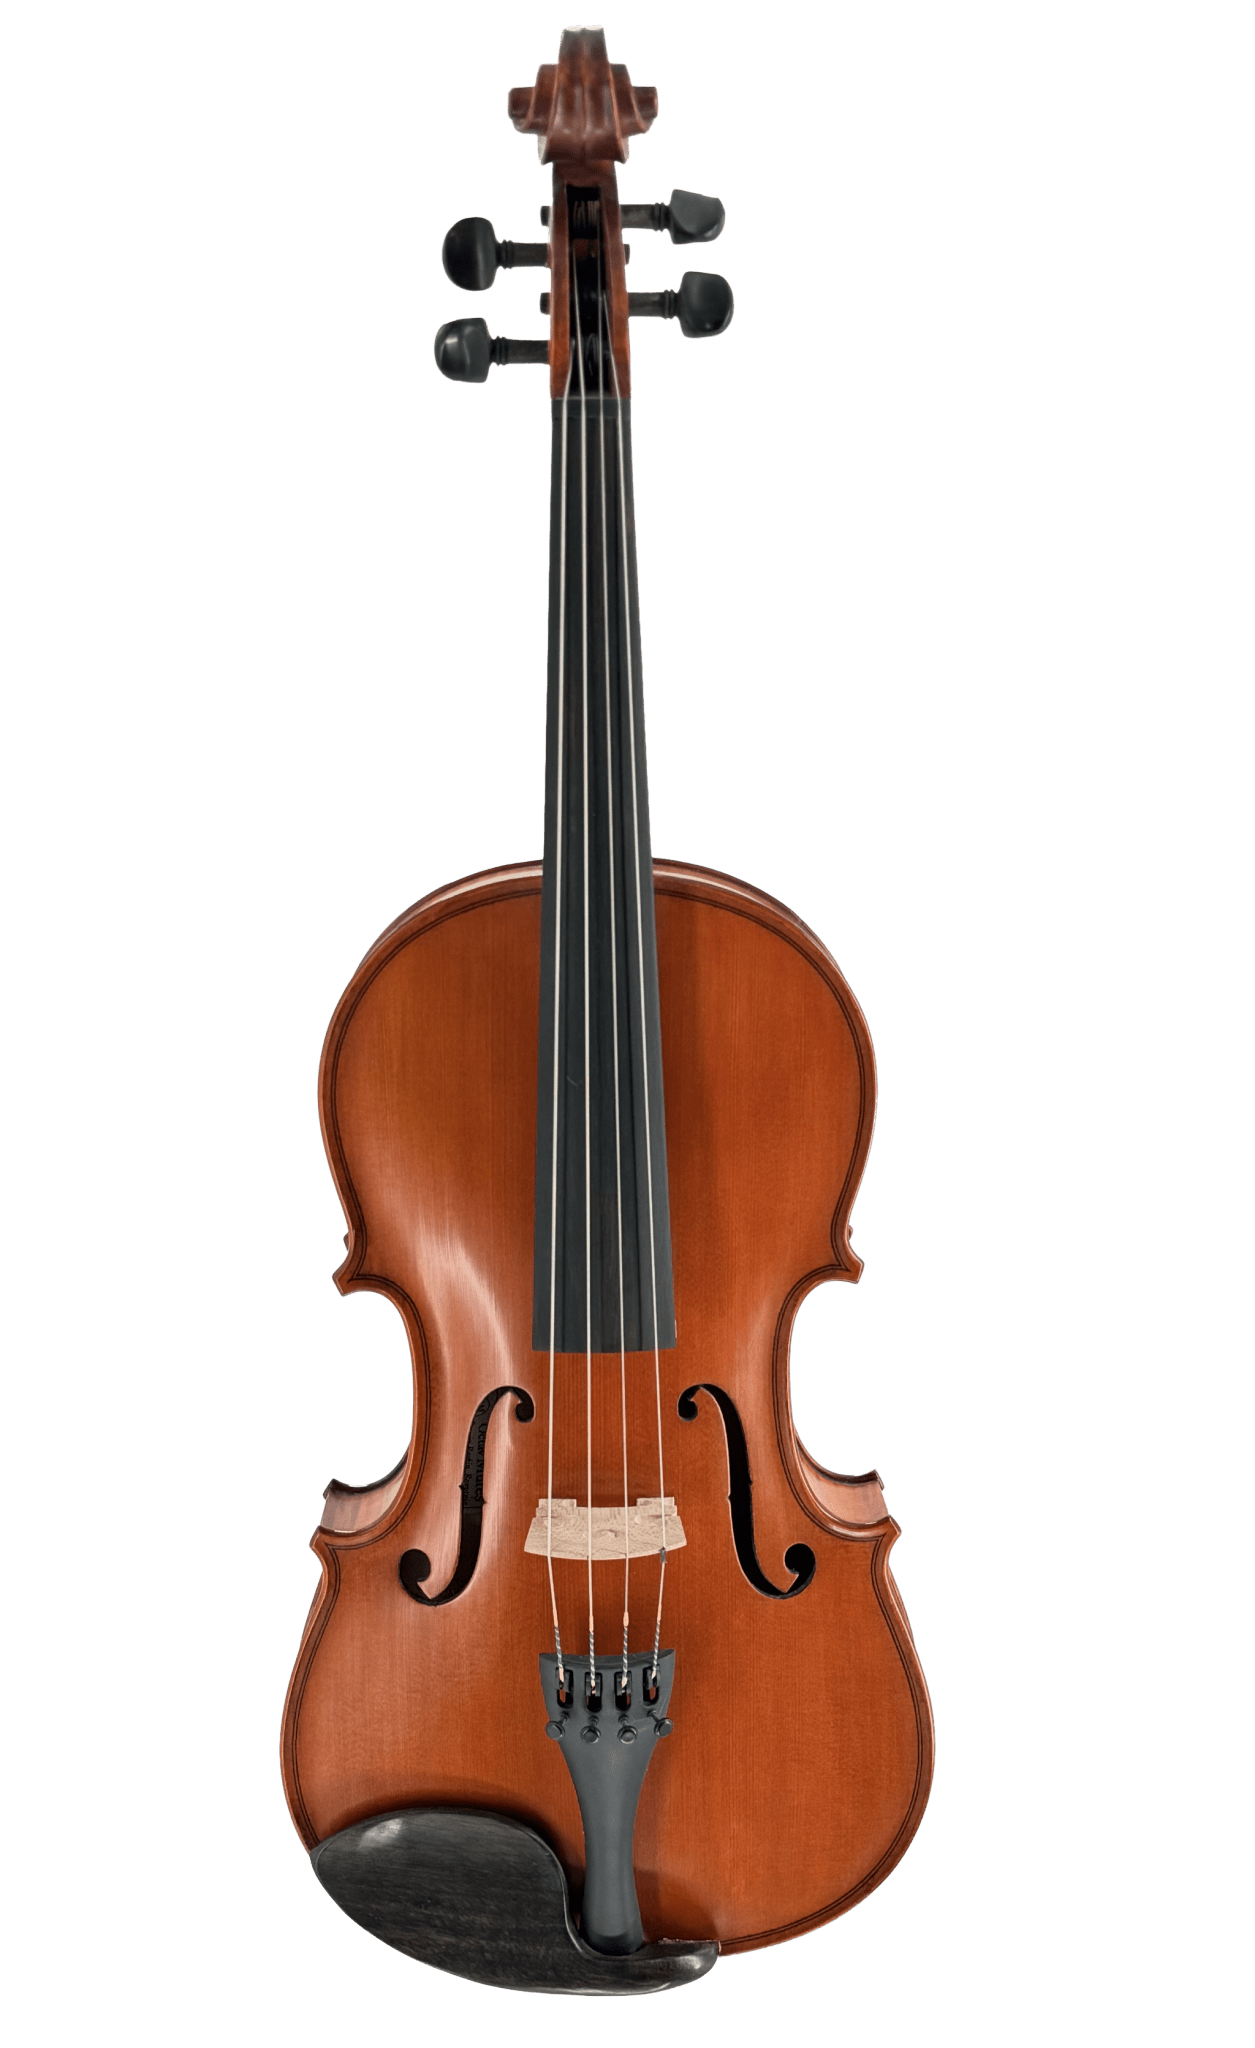
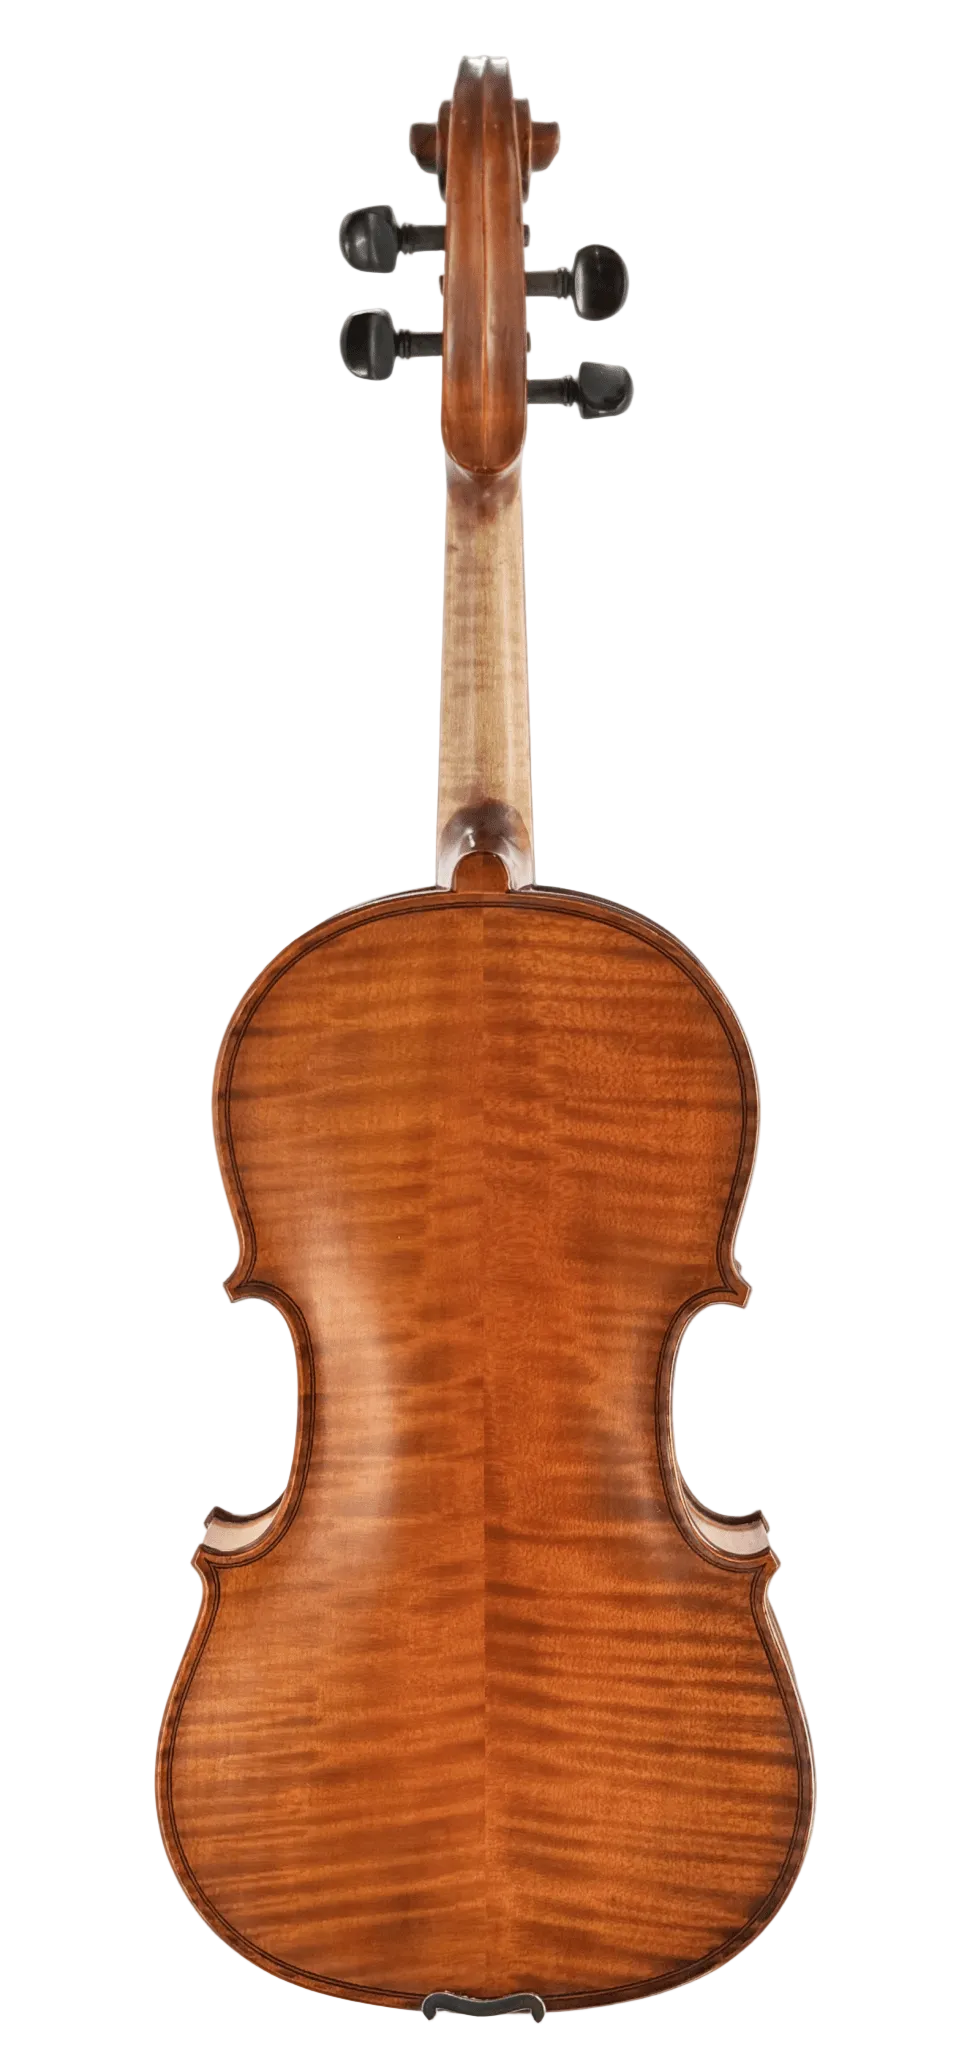
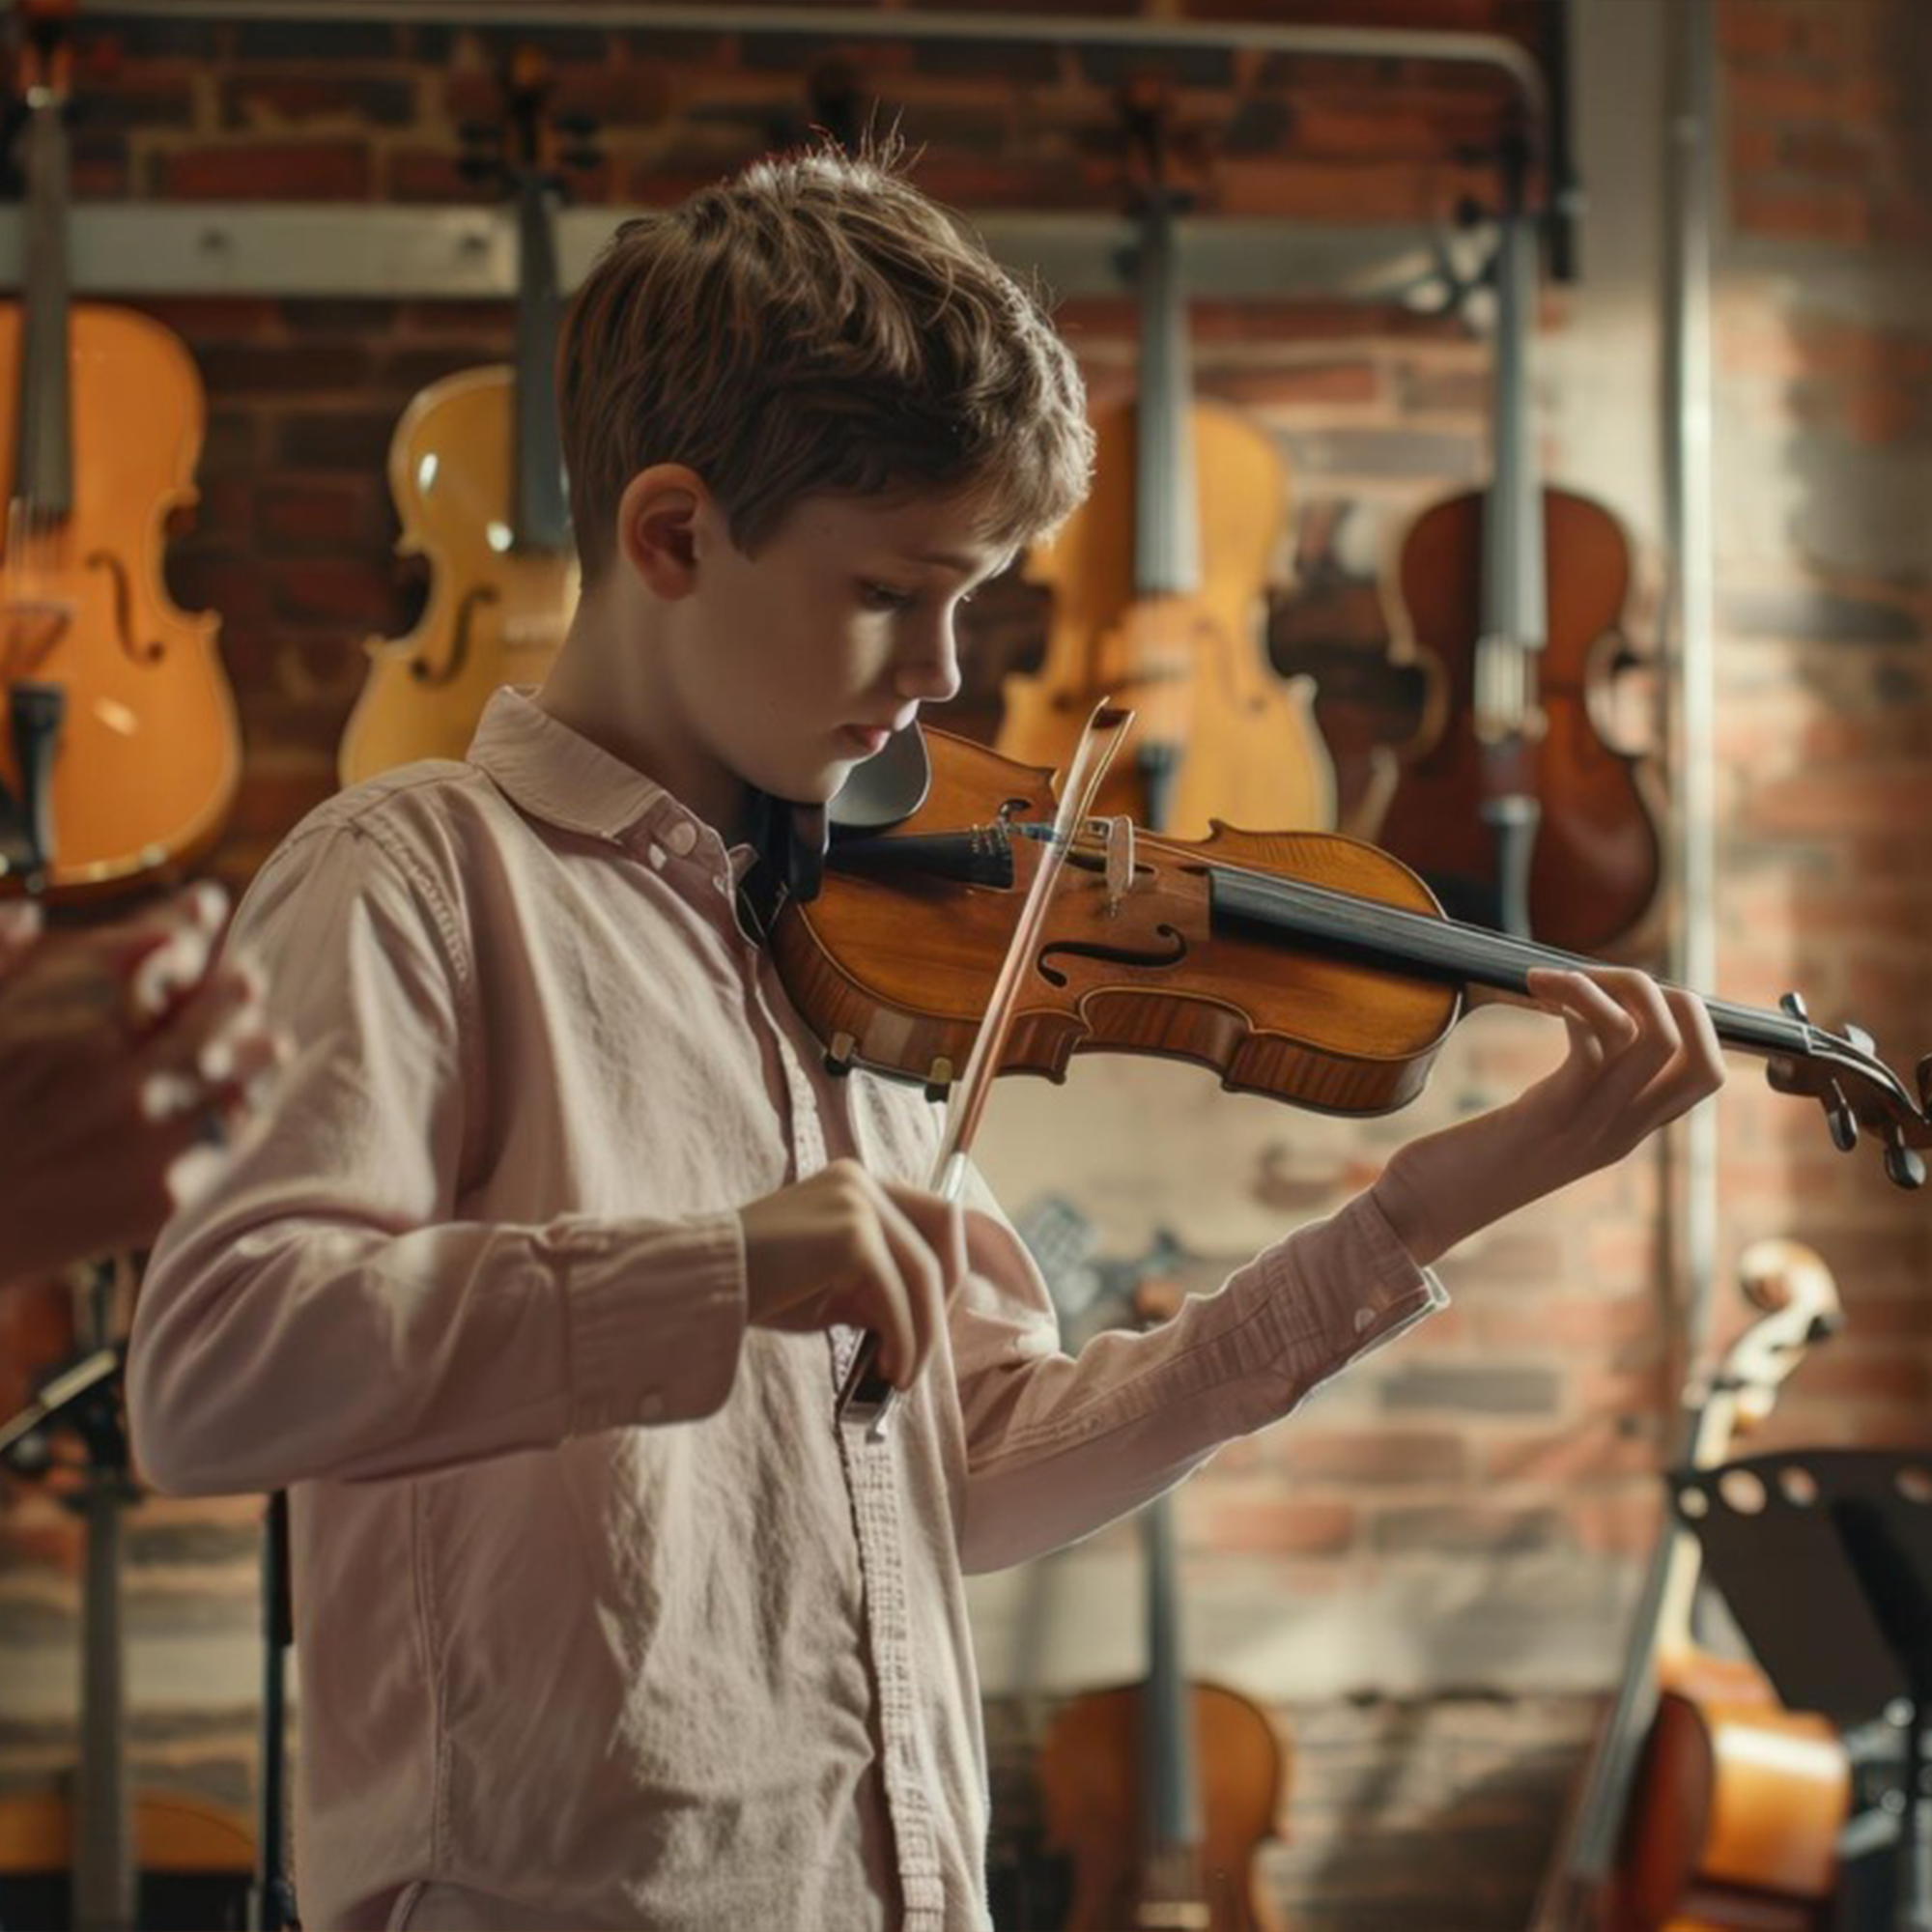
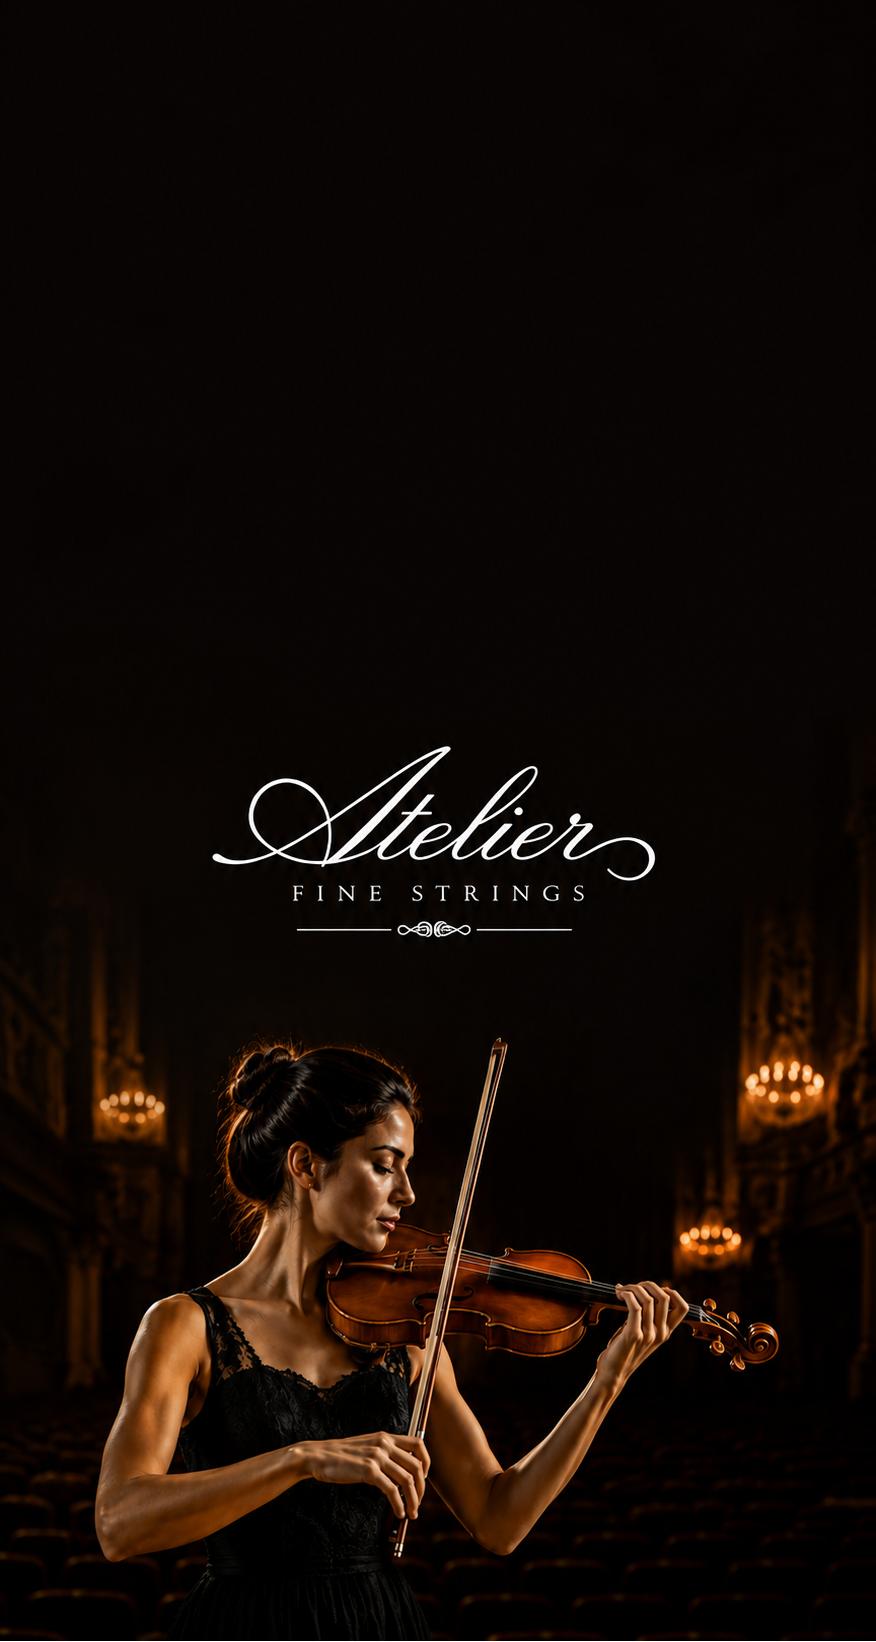
Atelier for Fine Stringed Instruments
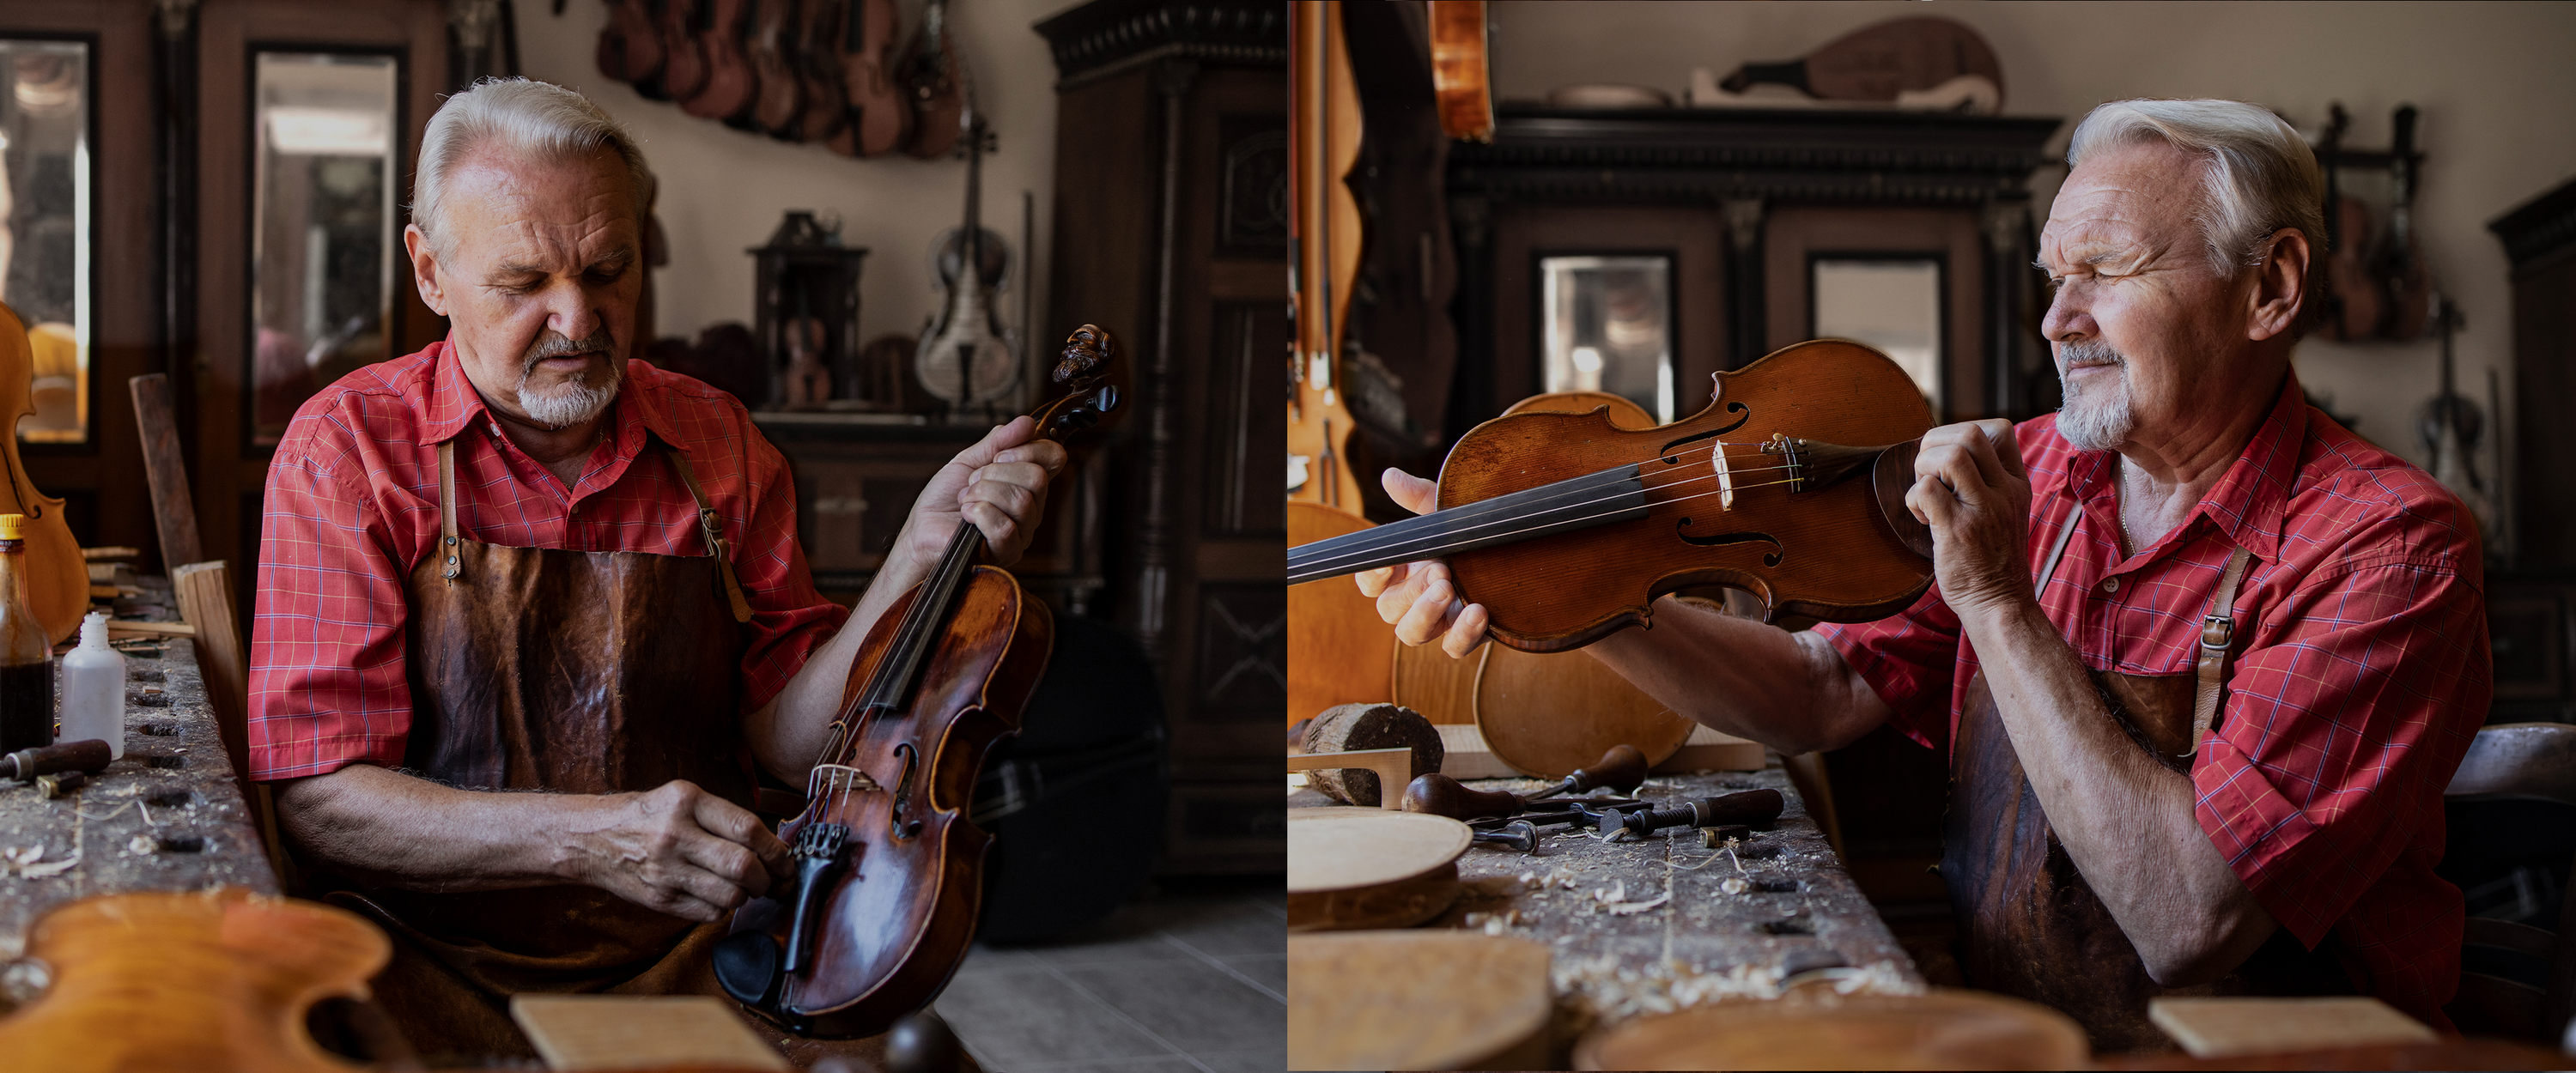
Where Fine European Craftsmanship Meets Masterful Restoration
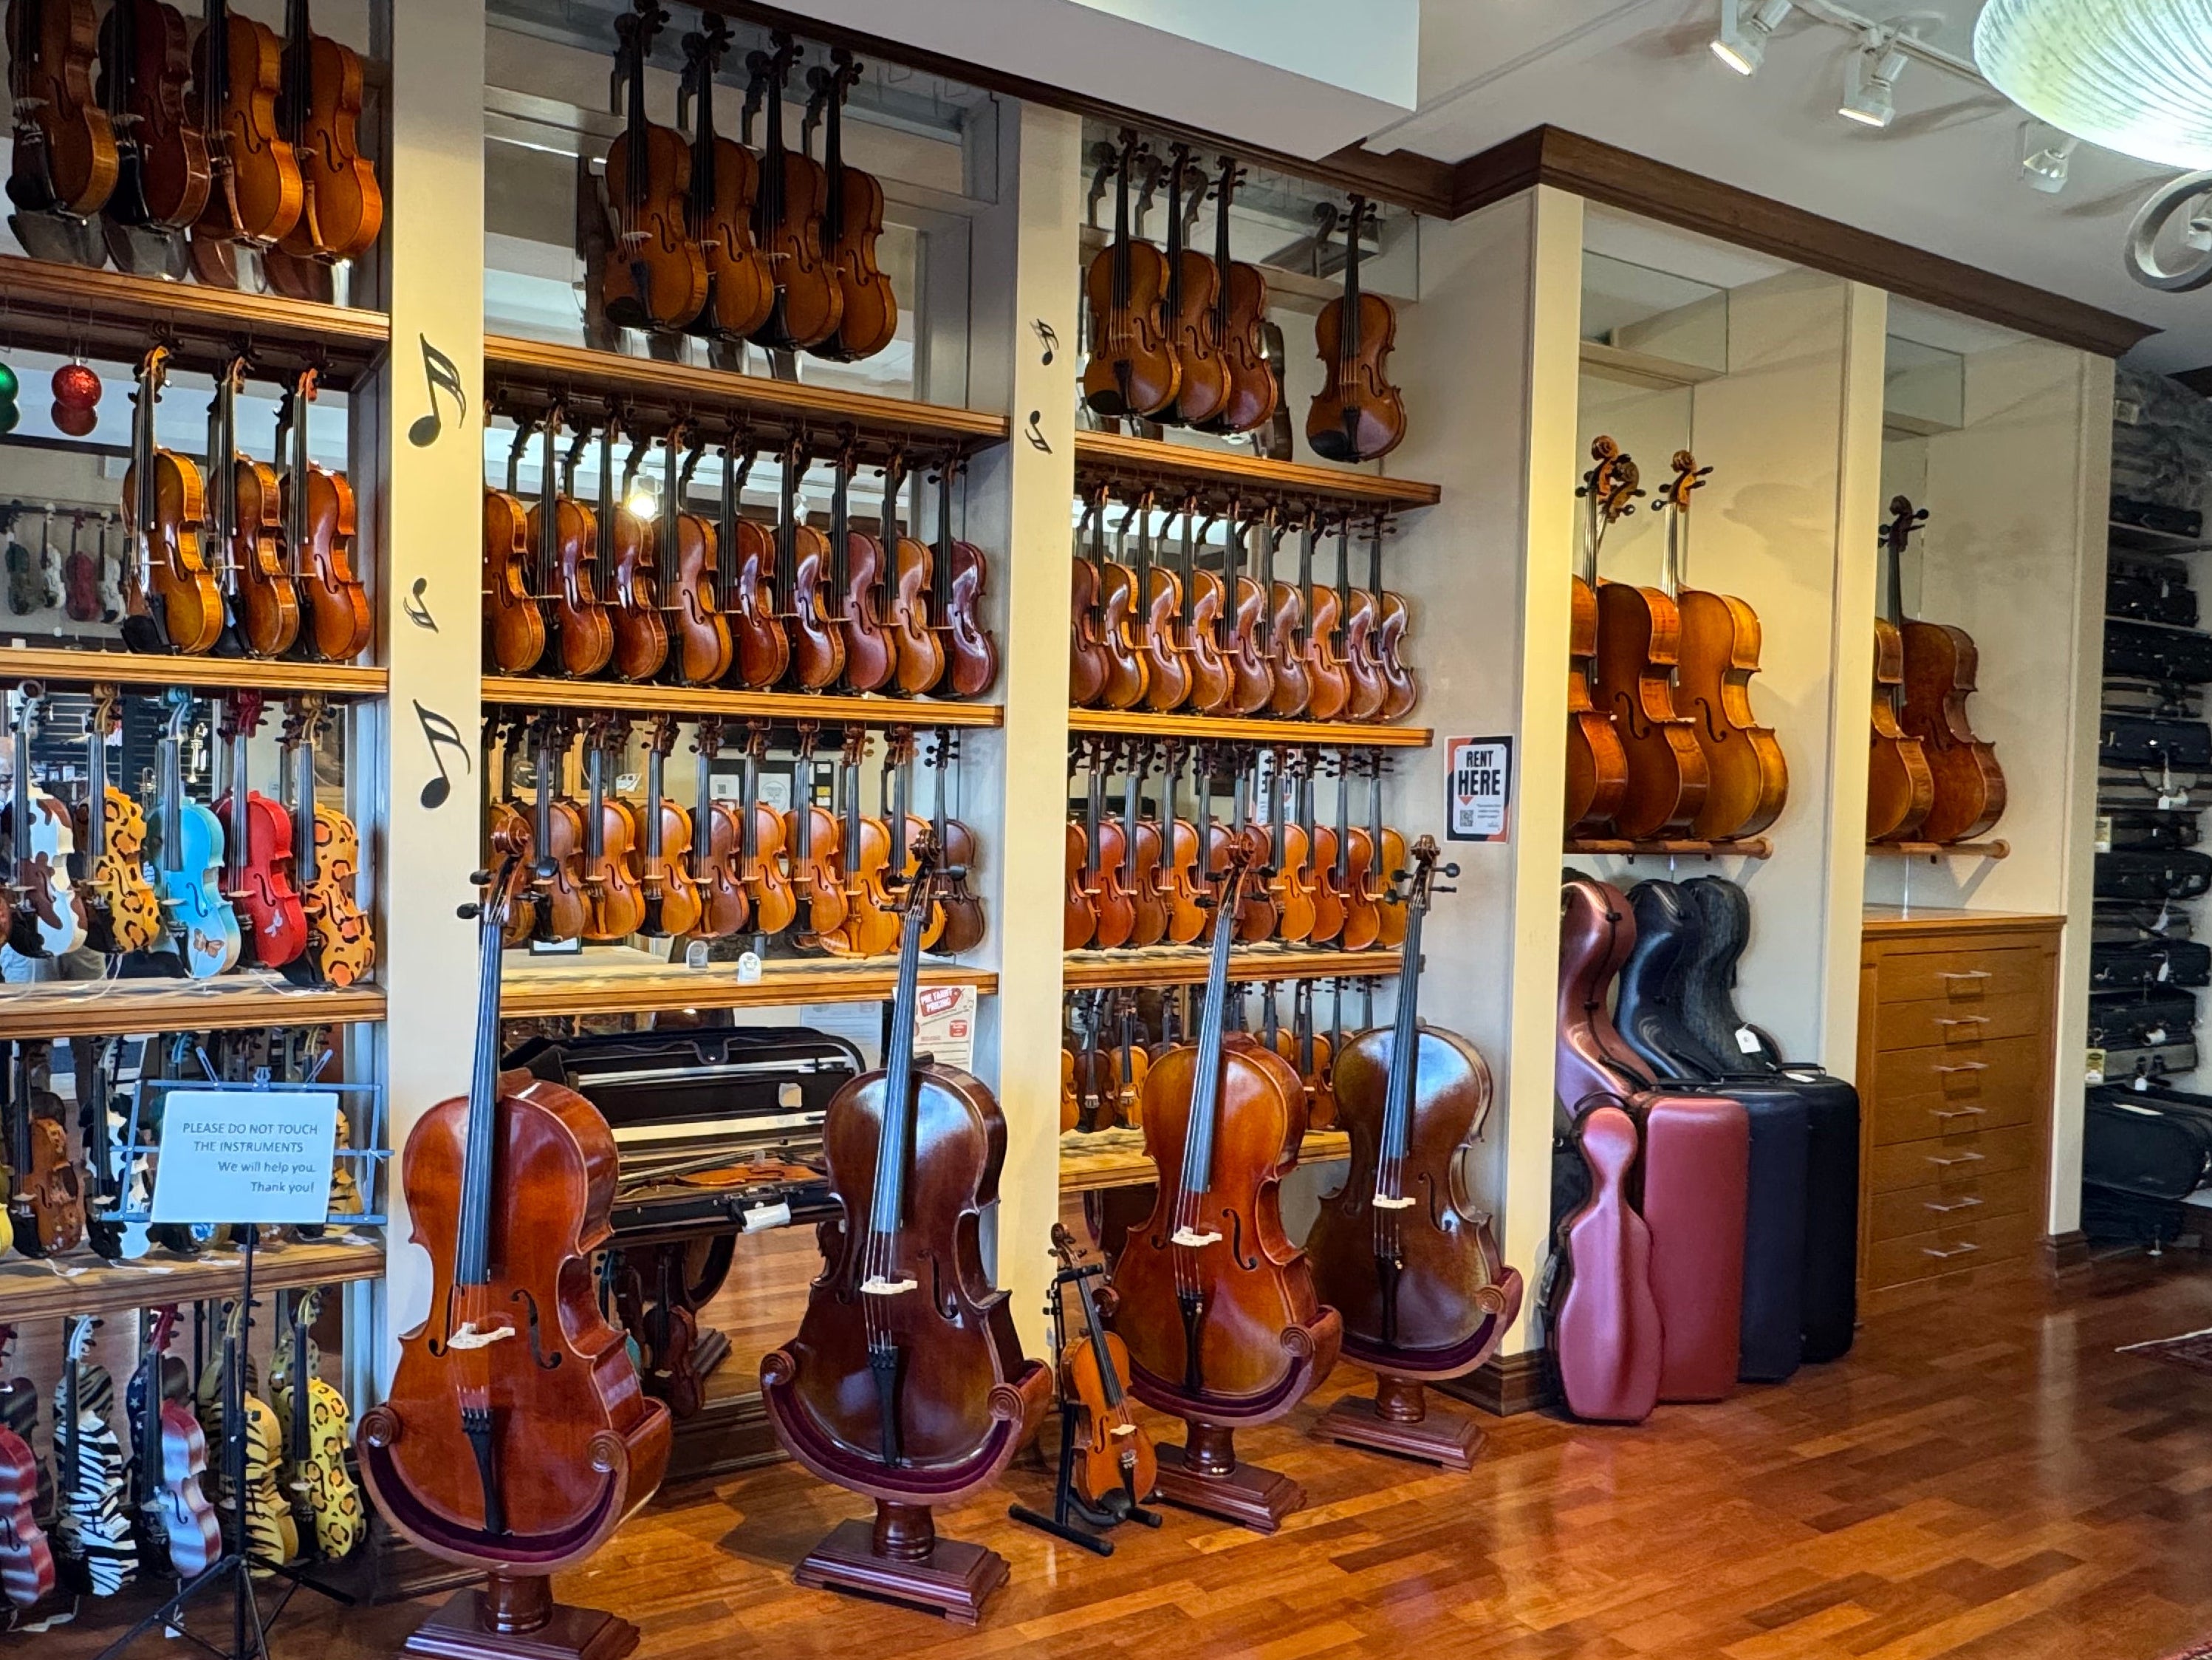
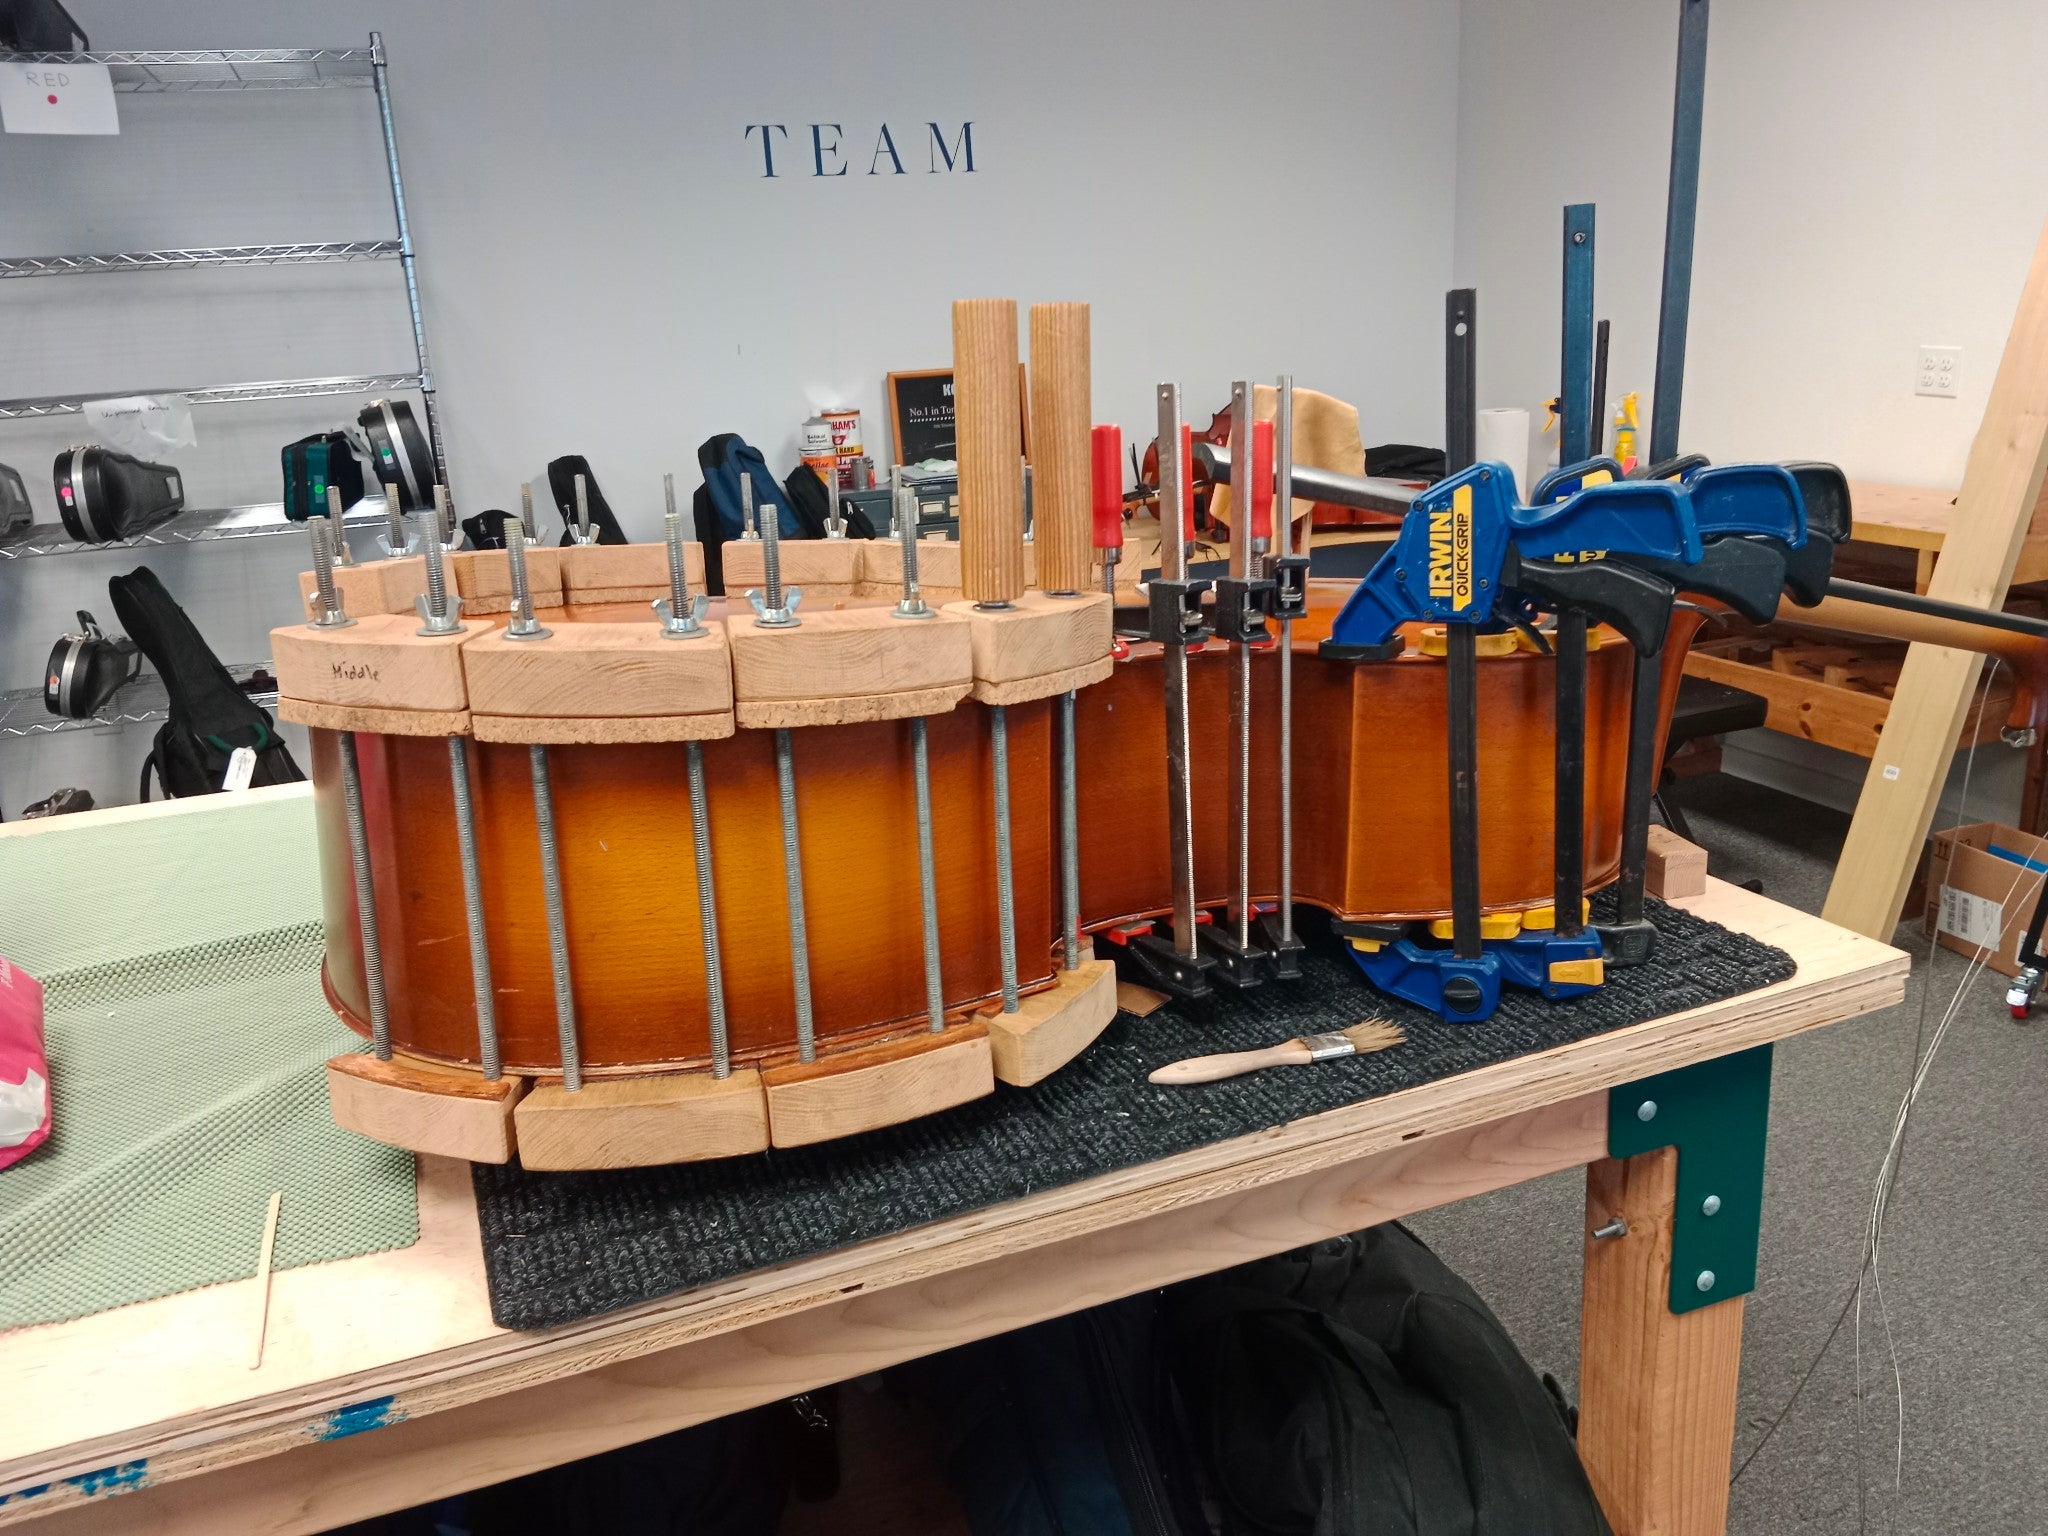
Atelier is more than a violin shop — it’s a place where musicians, families, and educators discover instruments that inspire confidence and creativity. Every violin, viola, cello, and bass we offer is hand-selected, workshop-adjusted, and curated by experts with decades of experience. Whether you're renting your first violin or searching for a professional-level instrument, Atelier ensures the highest level of quality, care, and musicality.
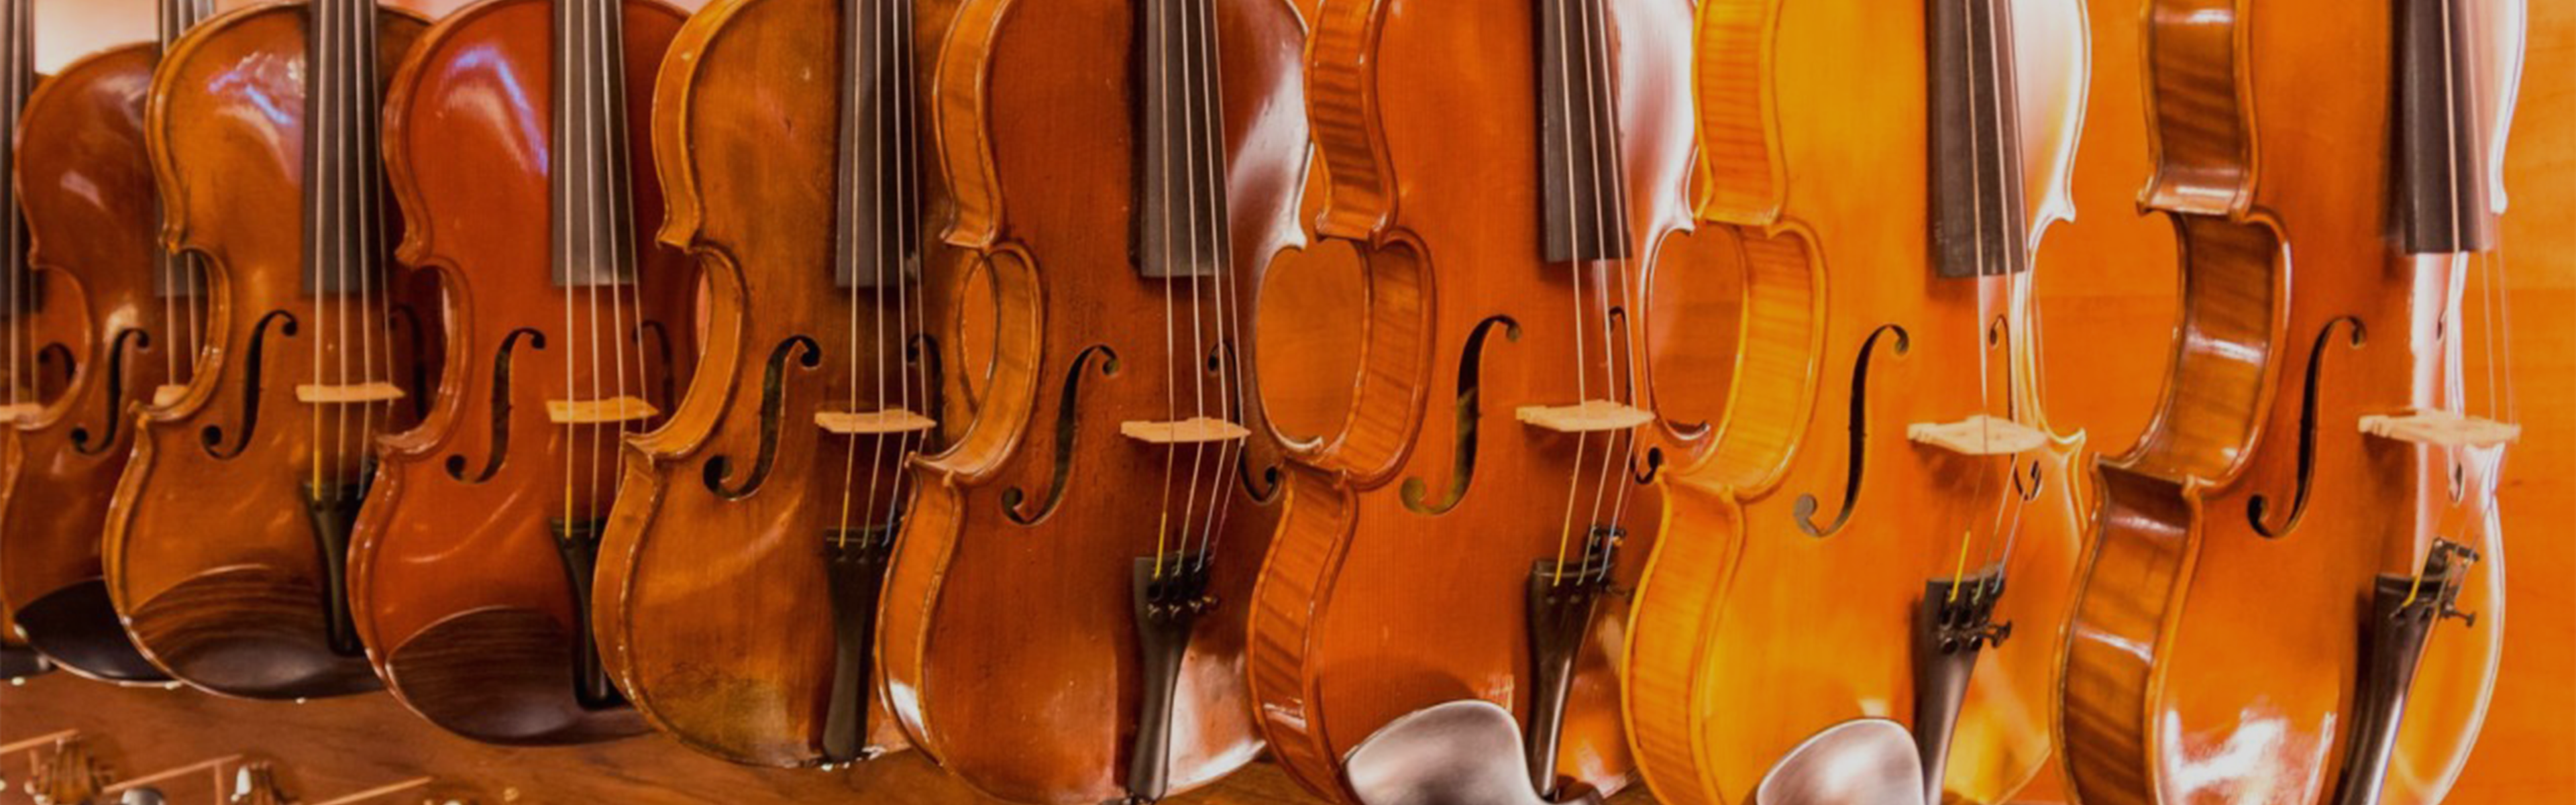
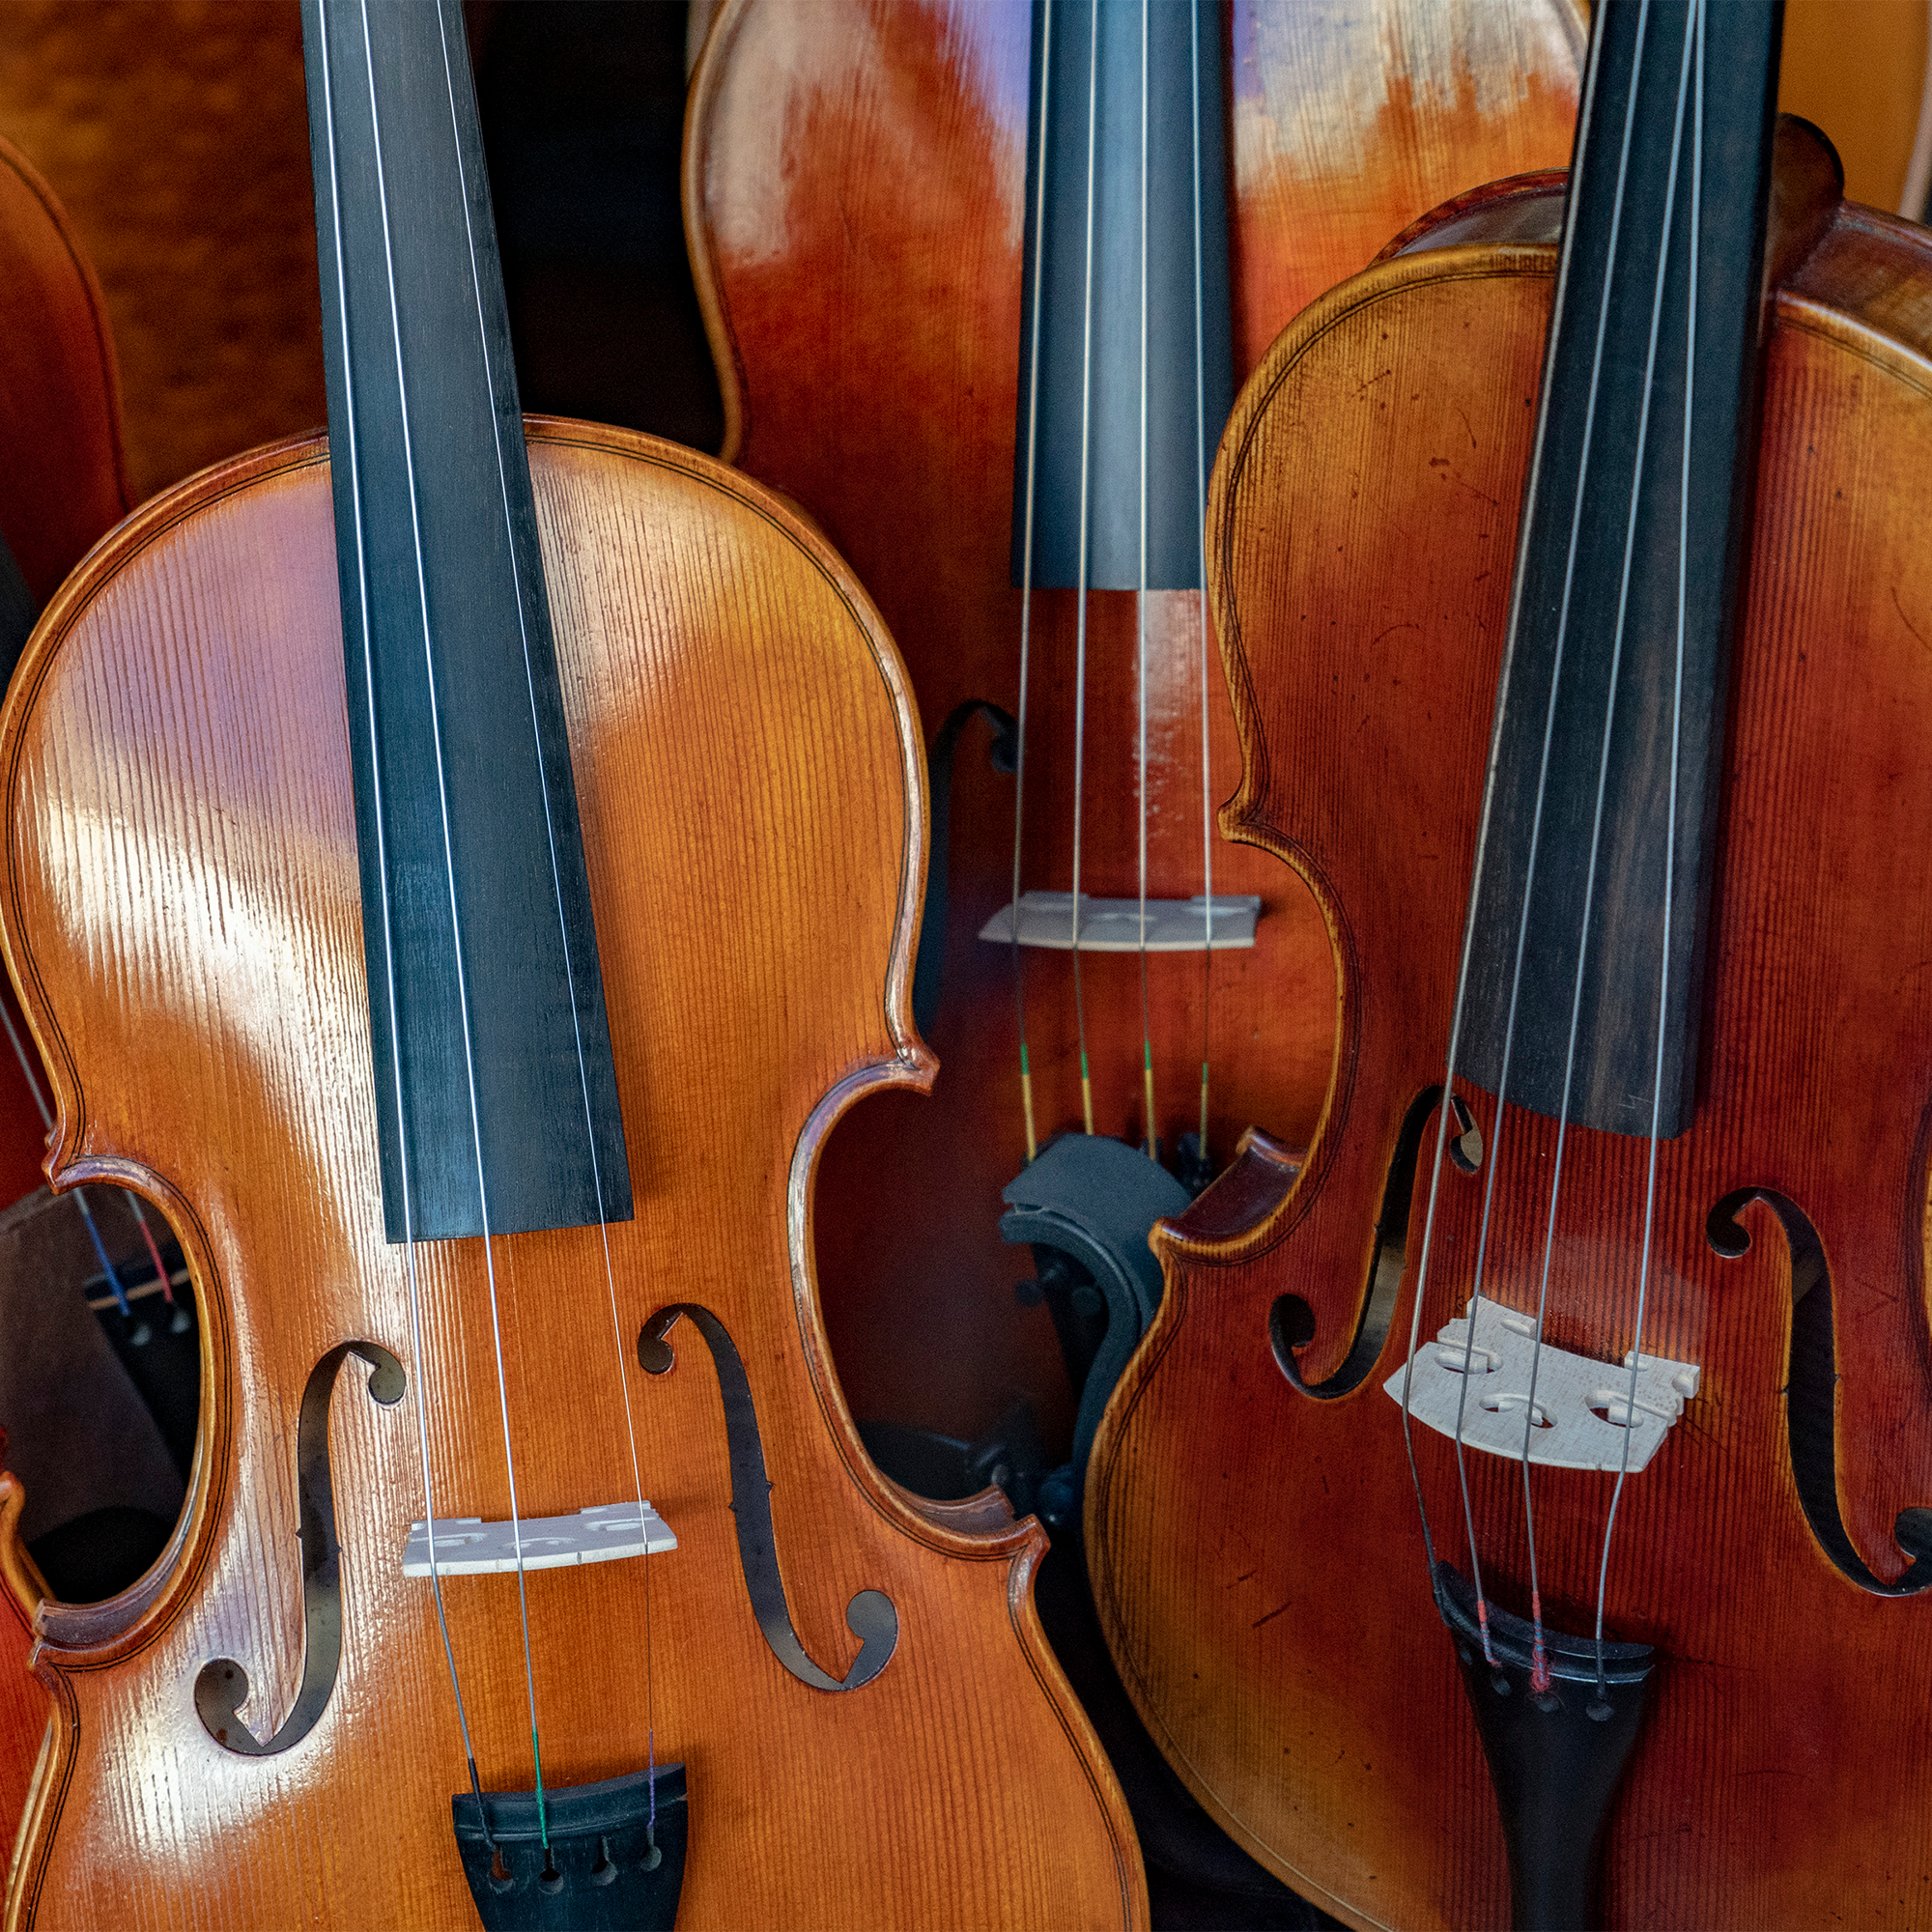
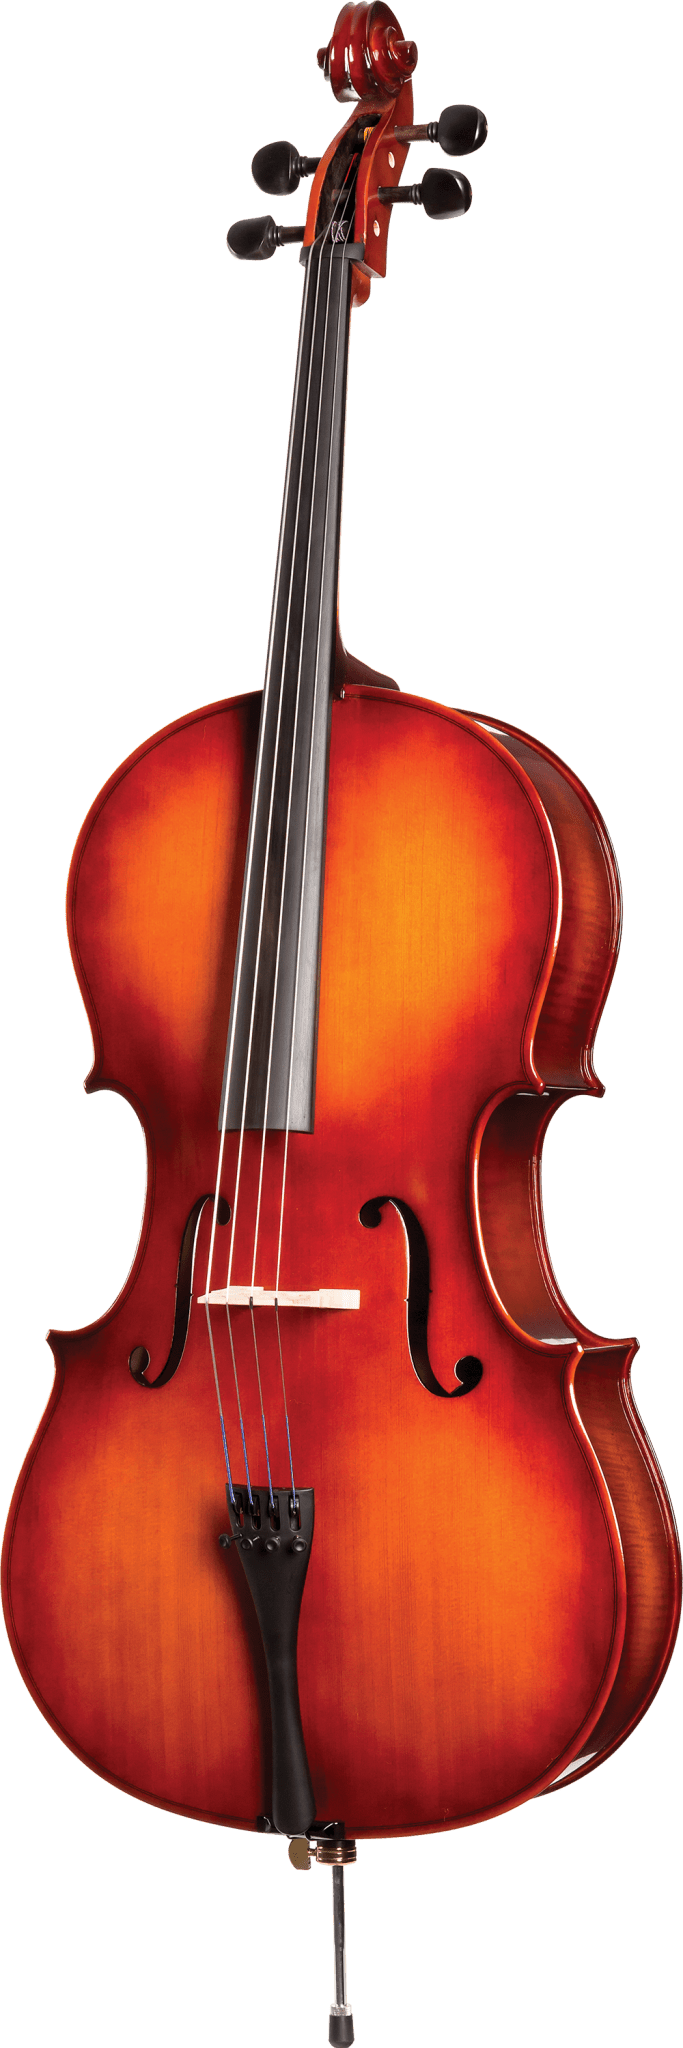
Instruments For Sale
European Craftsmanship. Atelier Expertise. Instruments That Grow With You.
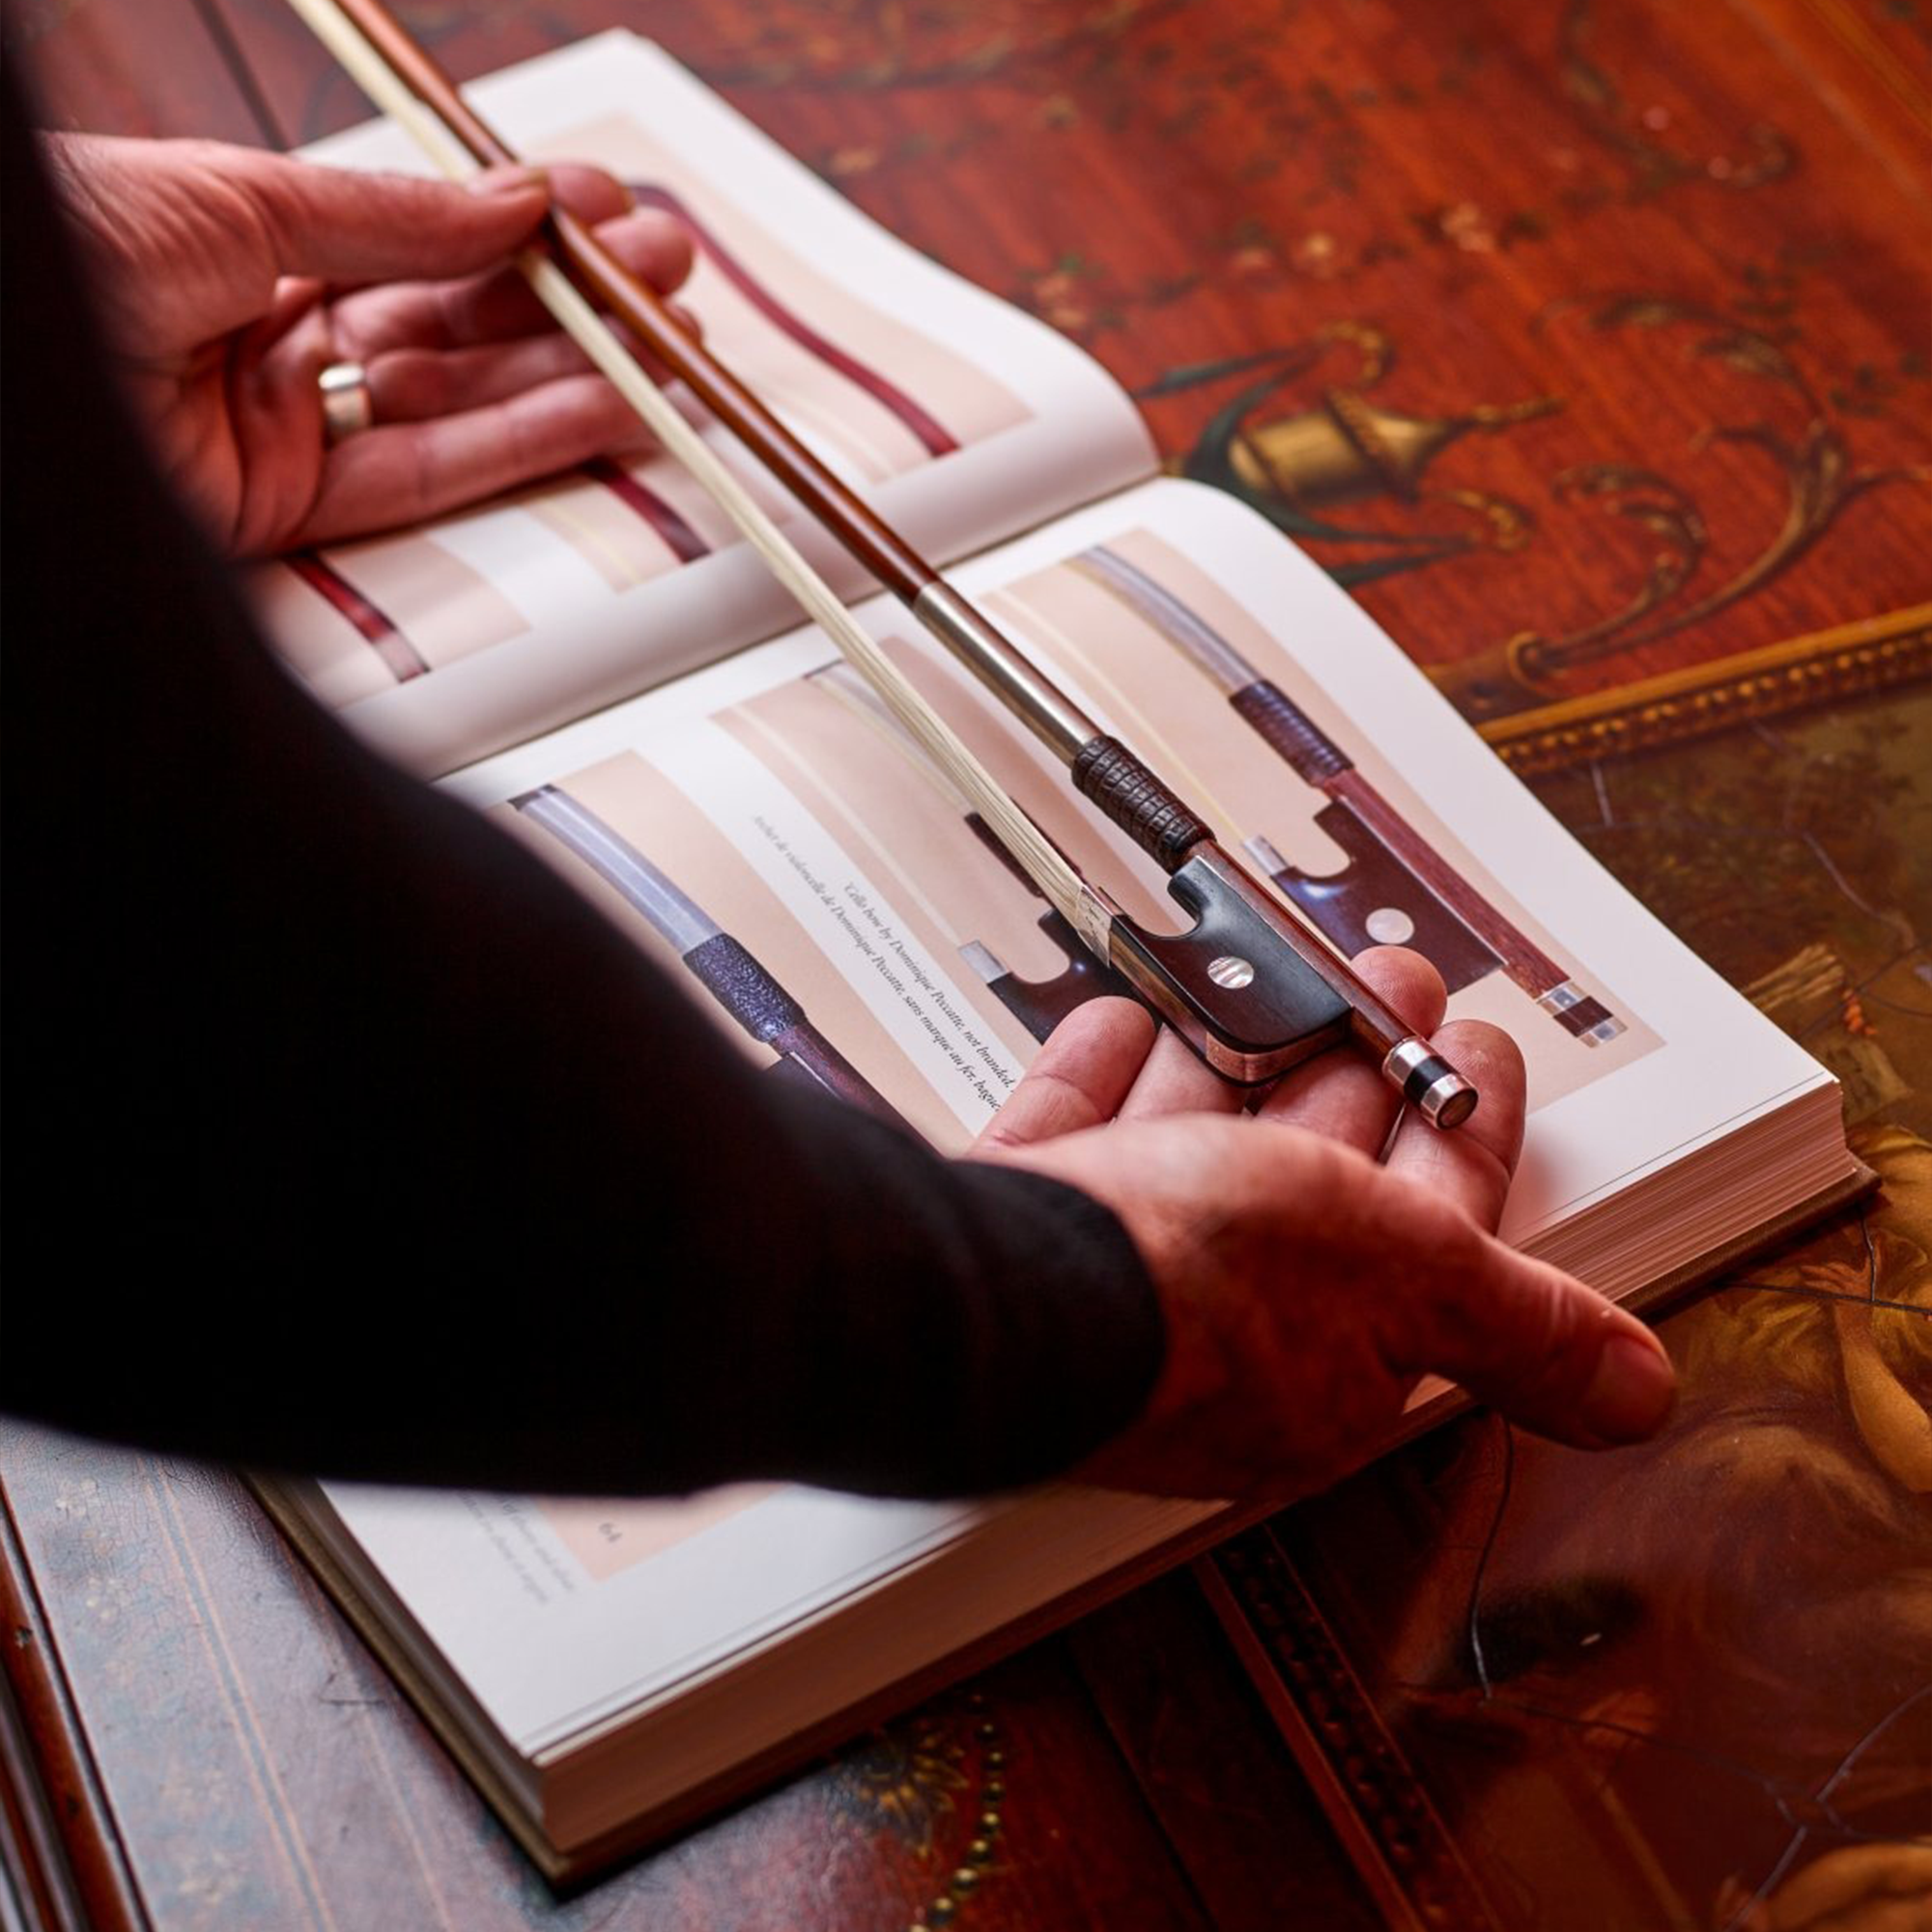
We carry a curated selection of:
Student and step-up instruments
Advanced and pre-professional models
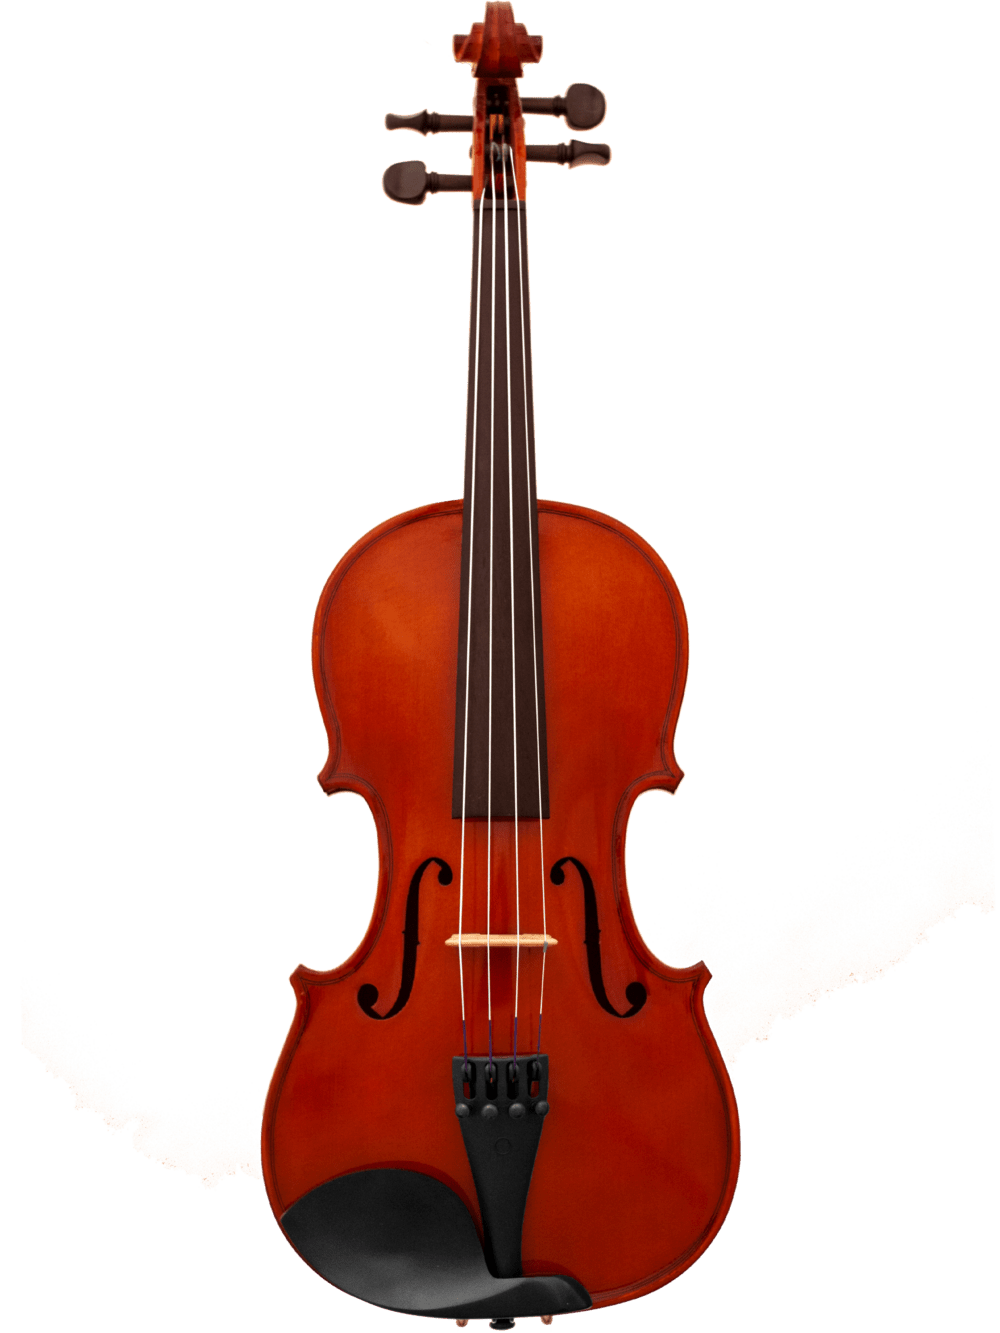
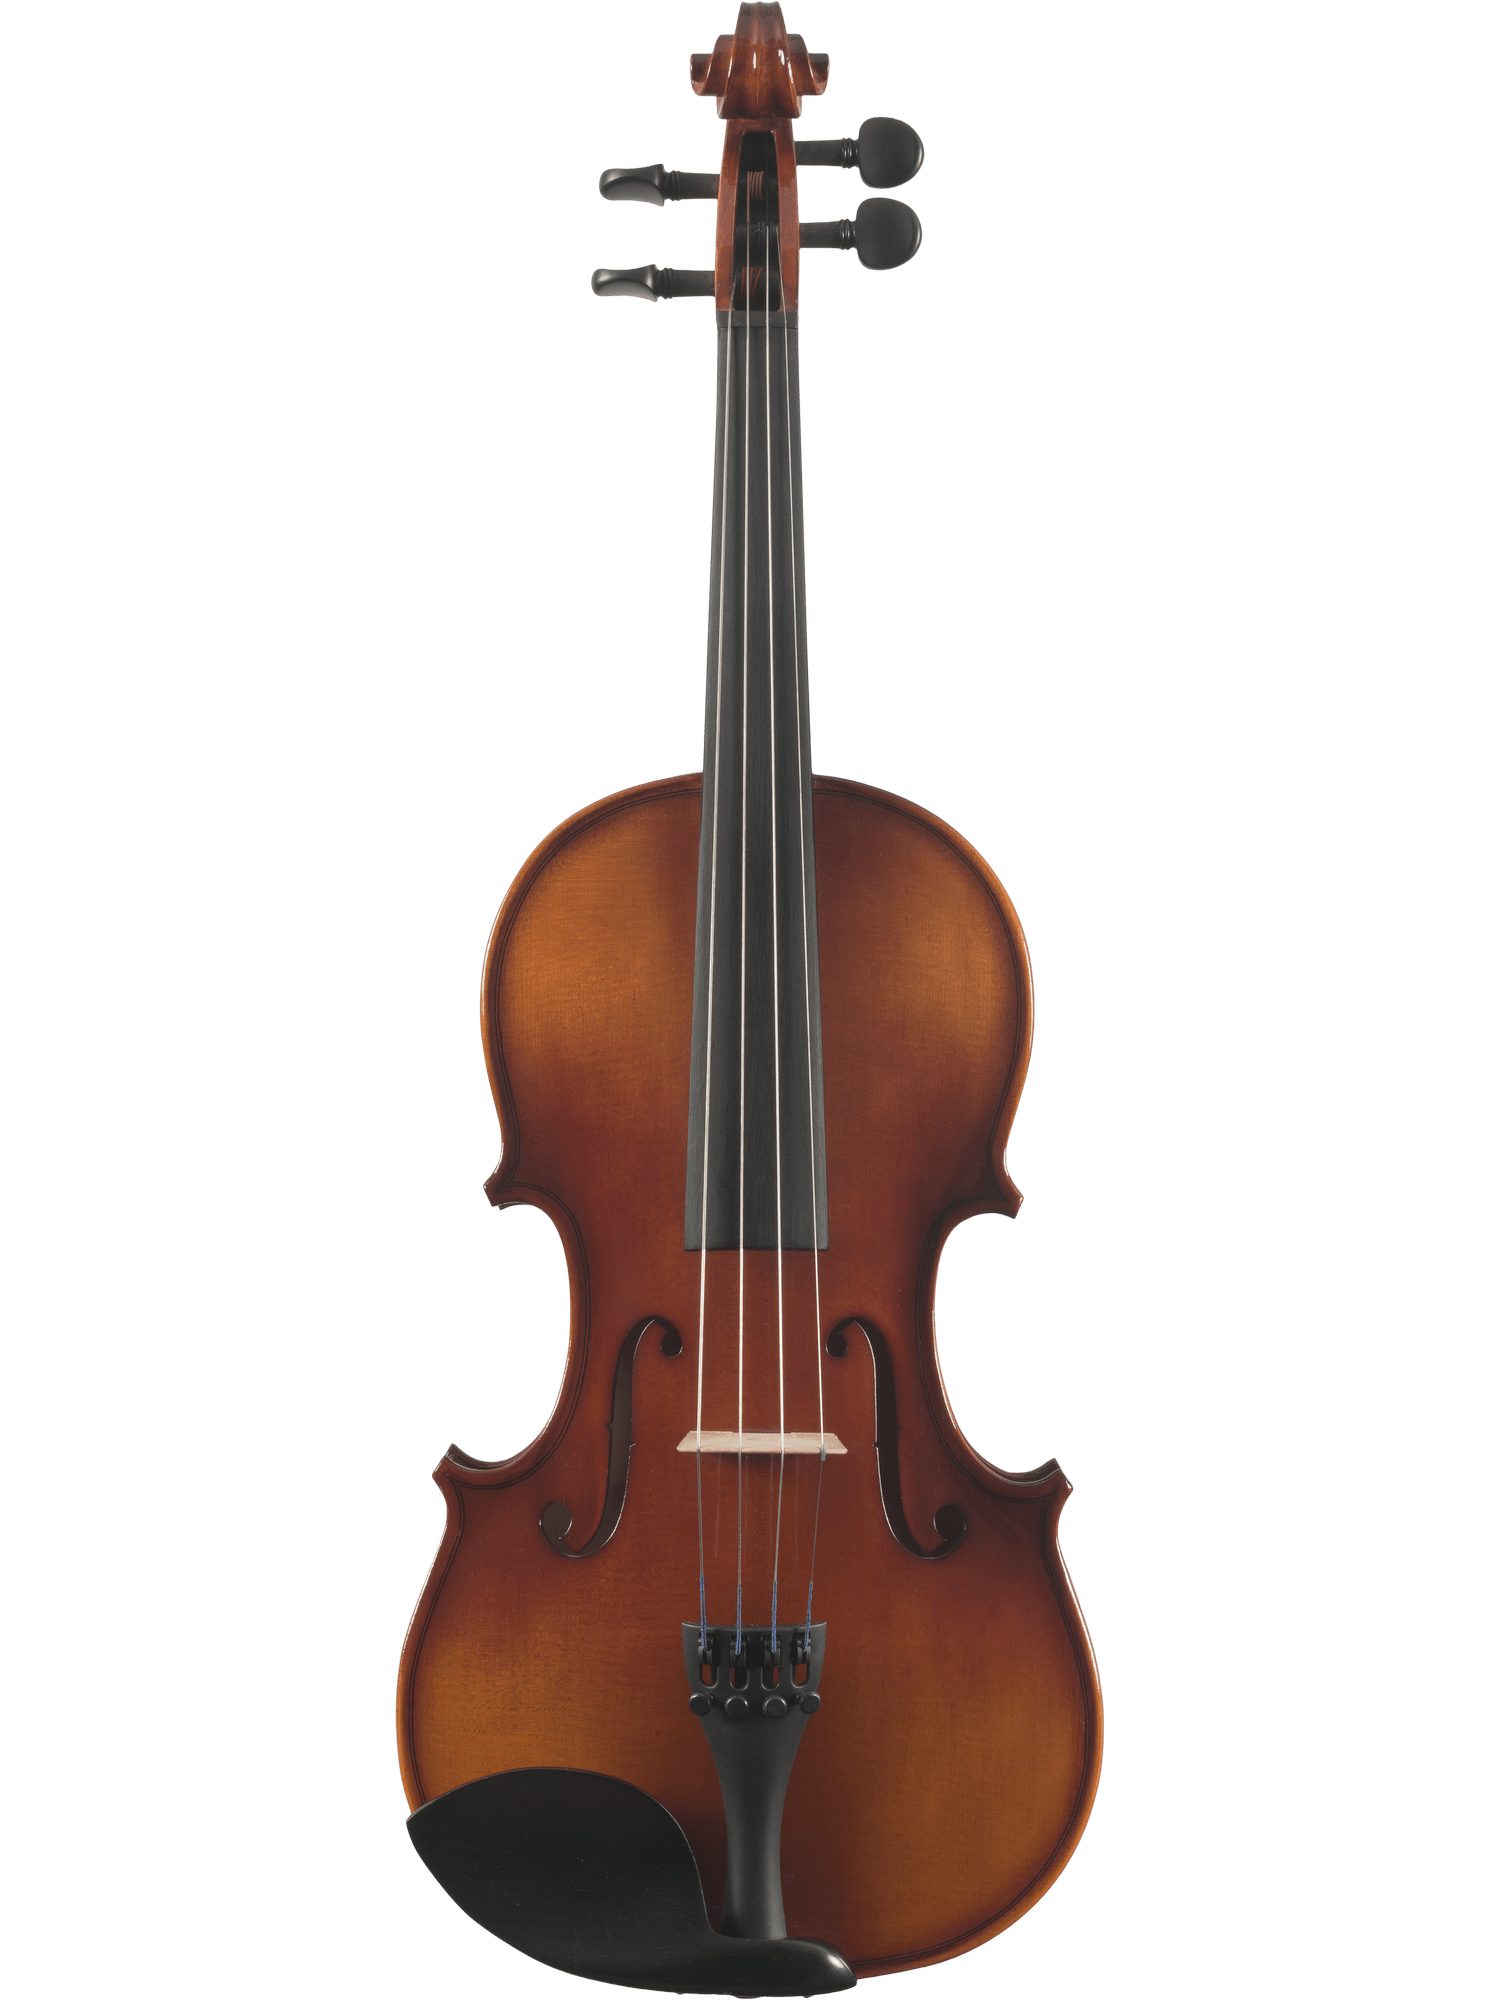
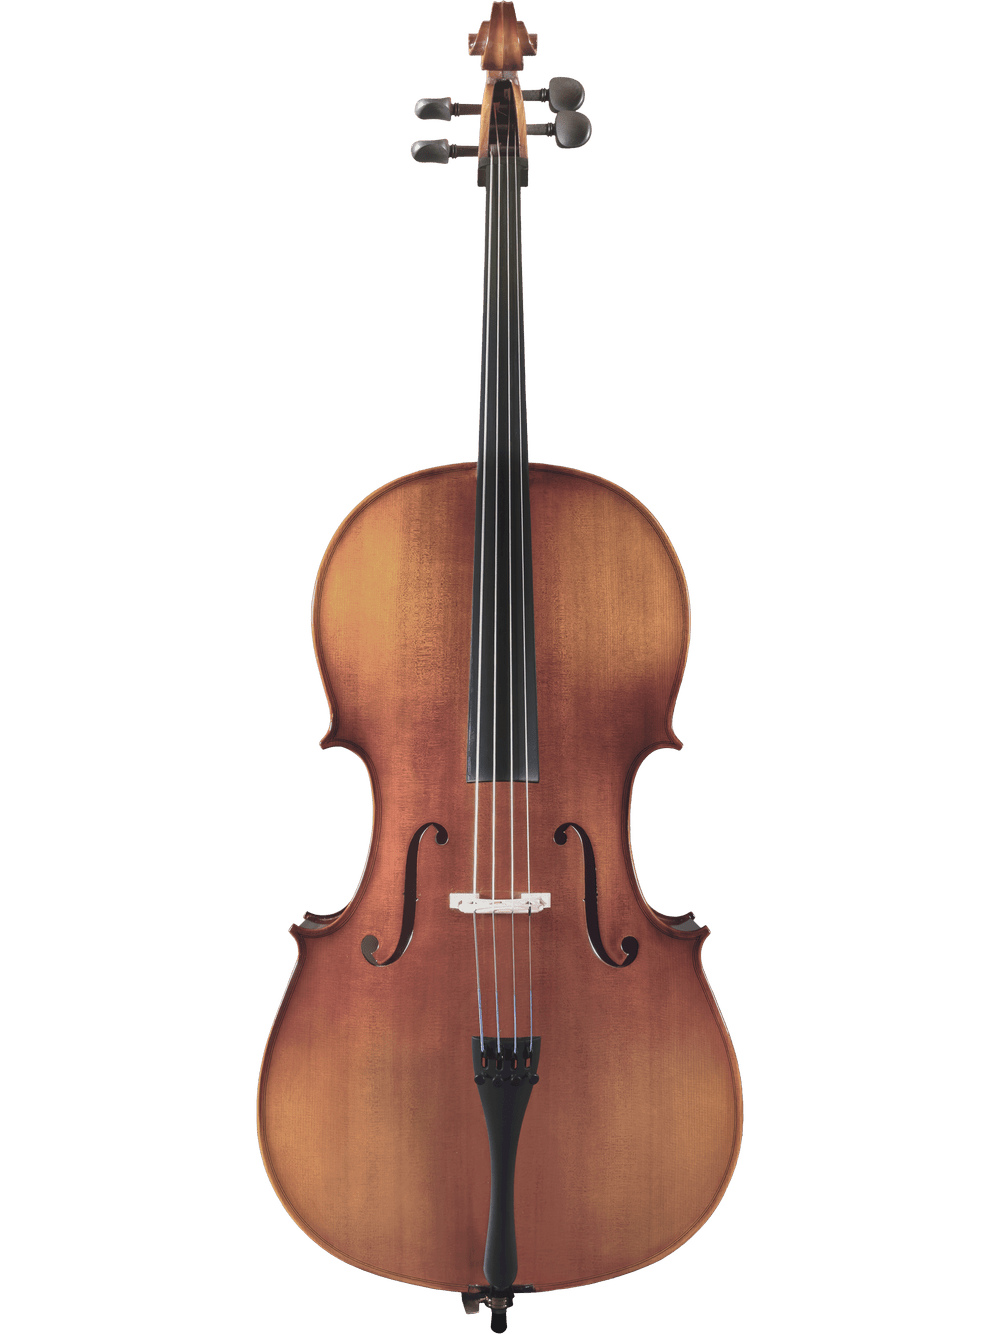
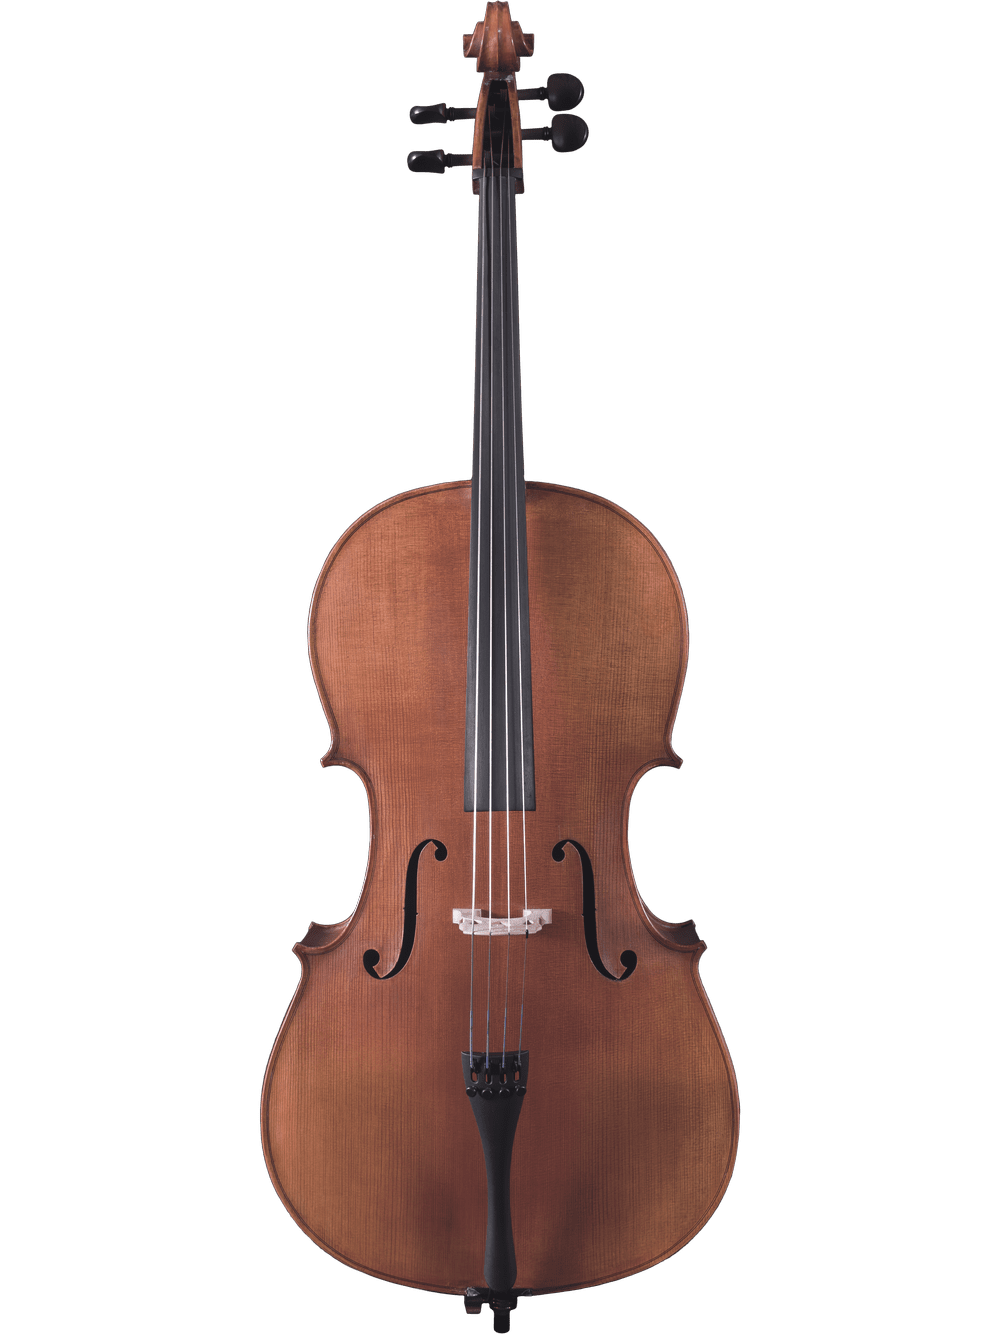
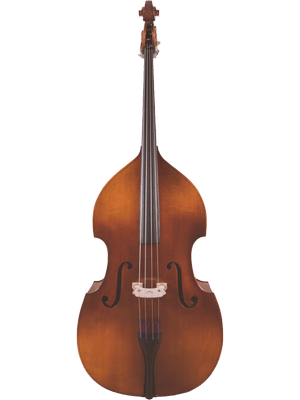
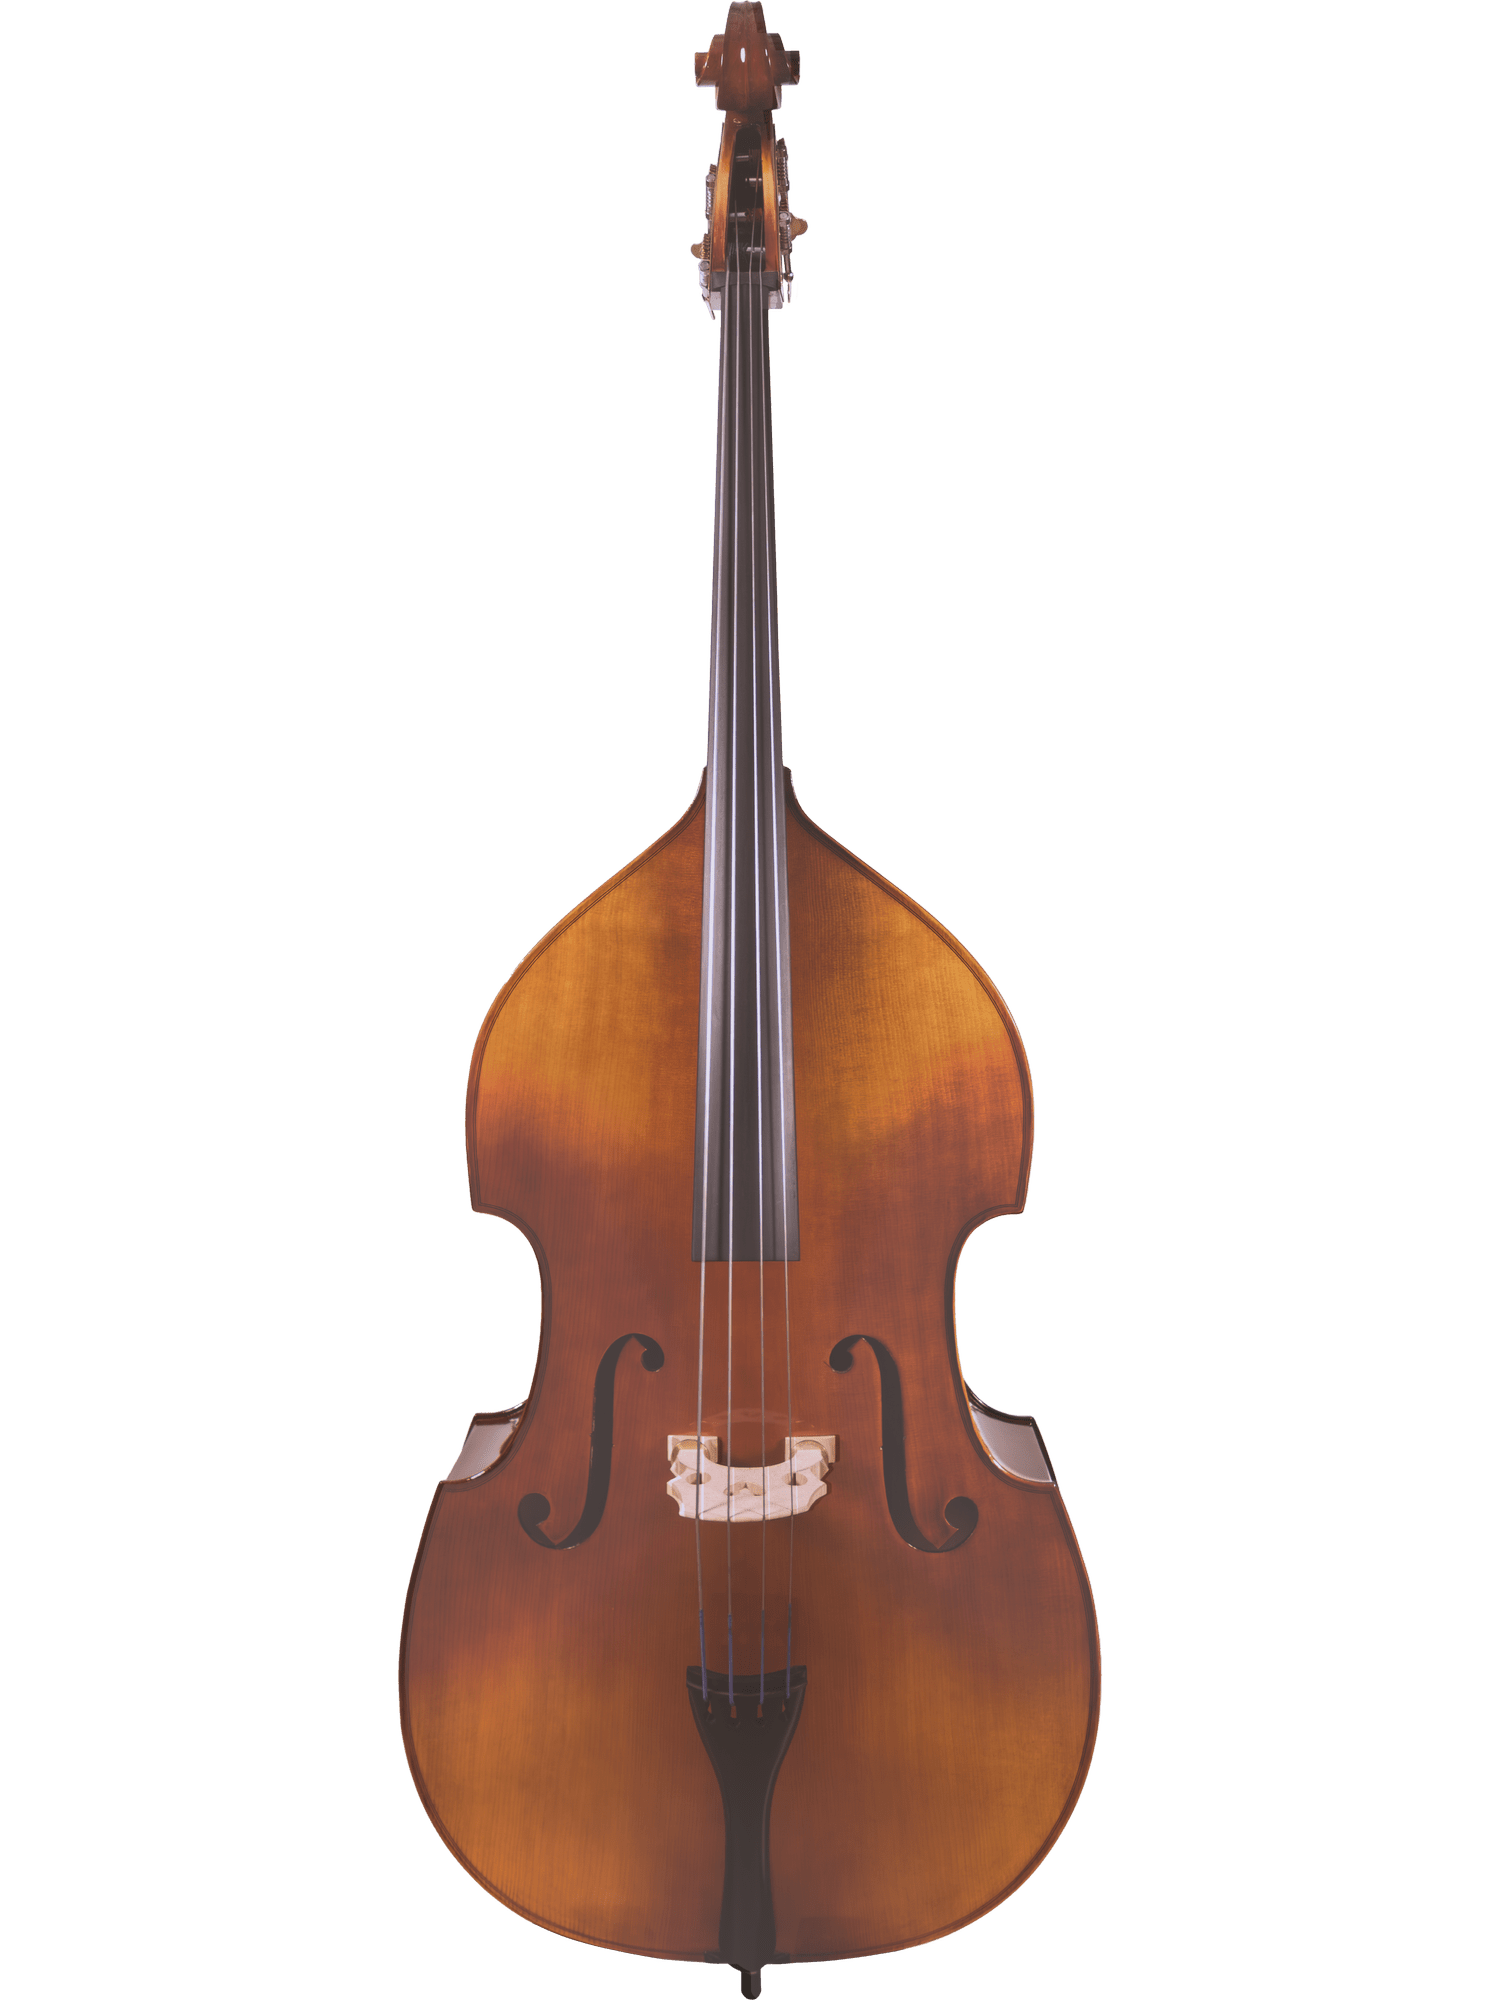
Handmade European violins, violas, cellos, and basses
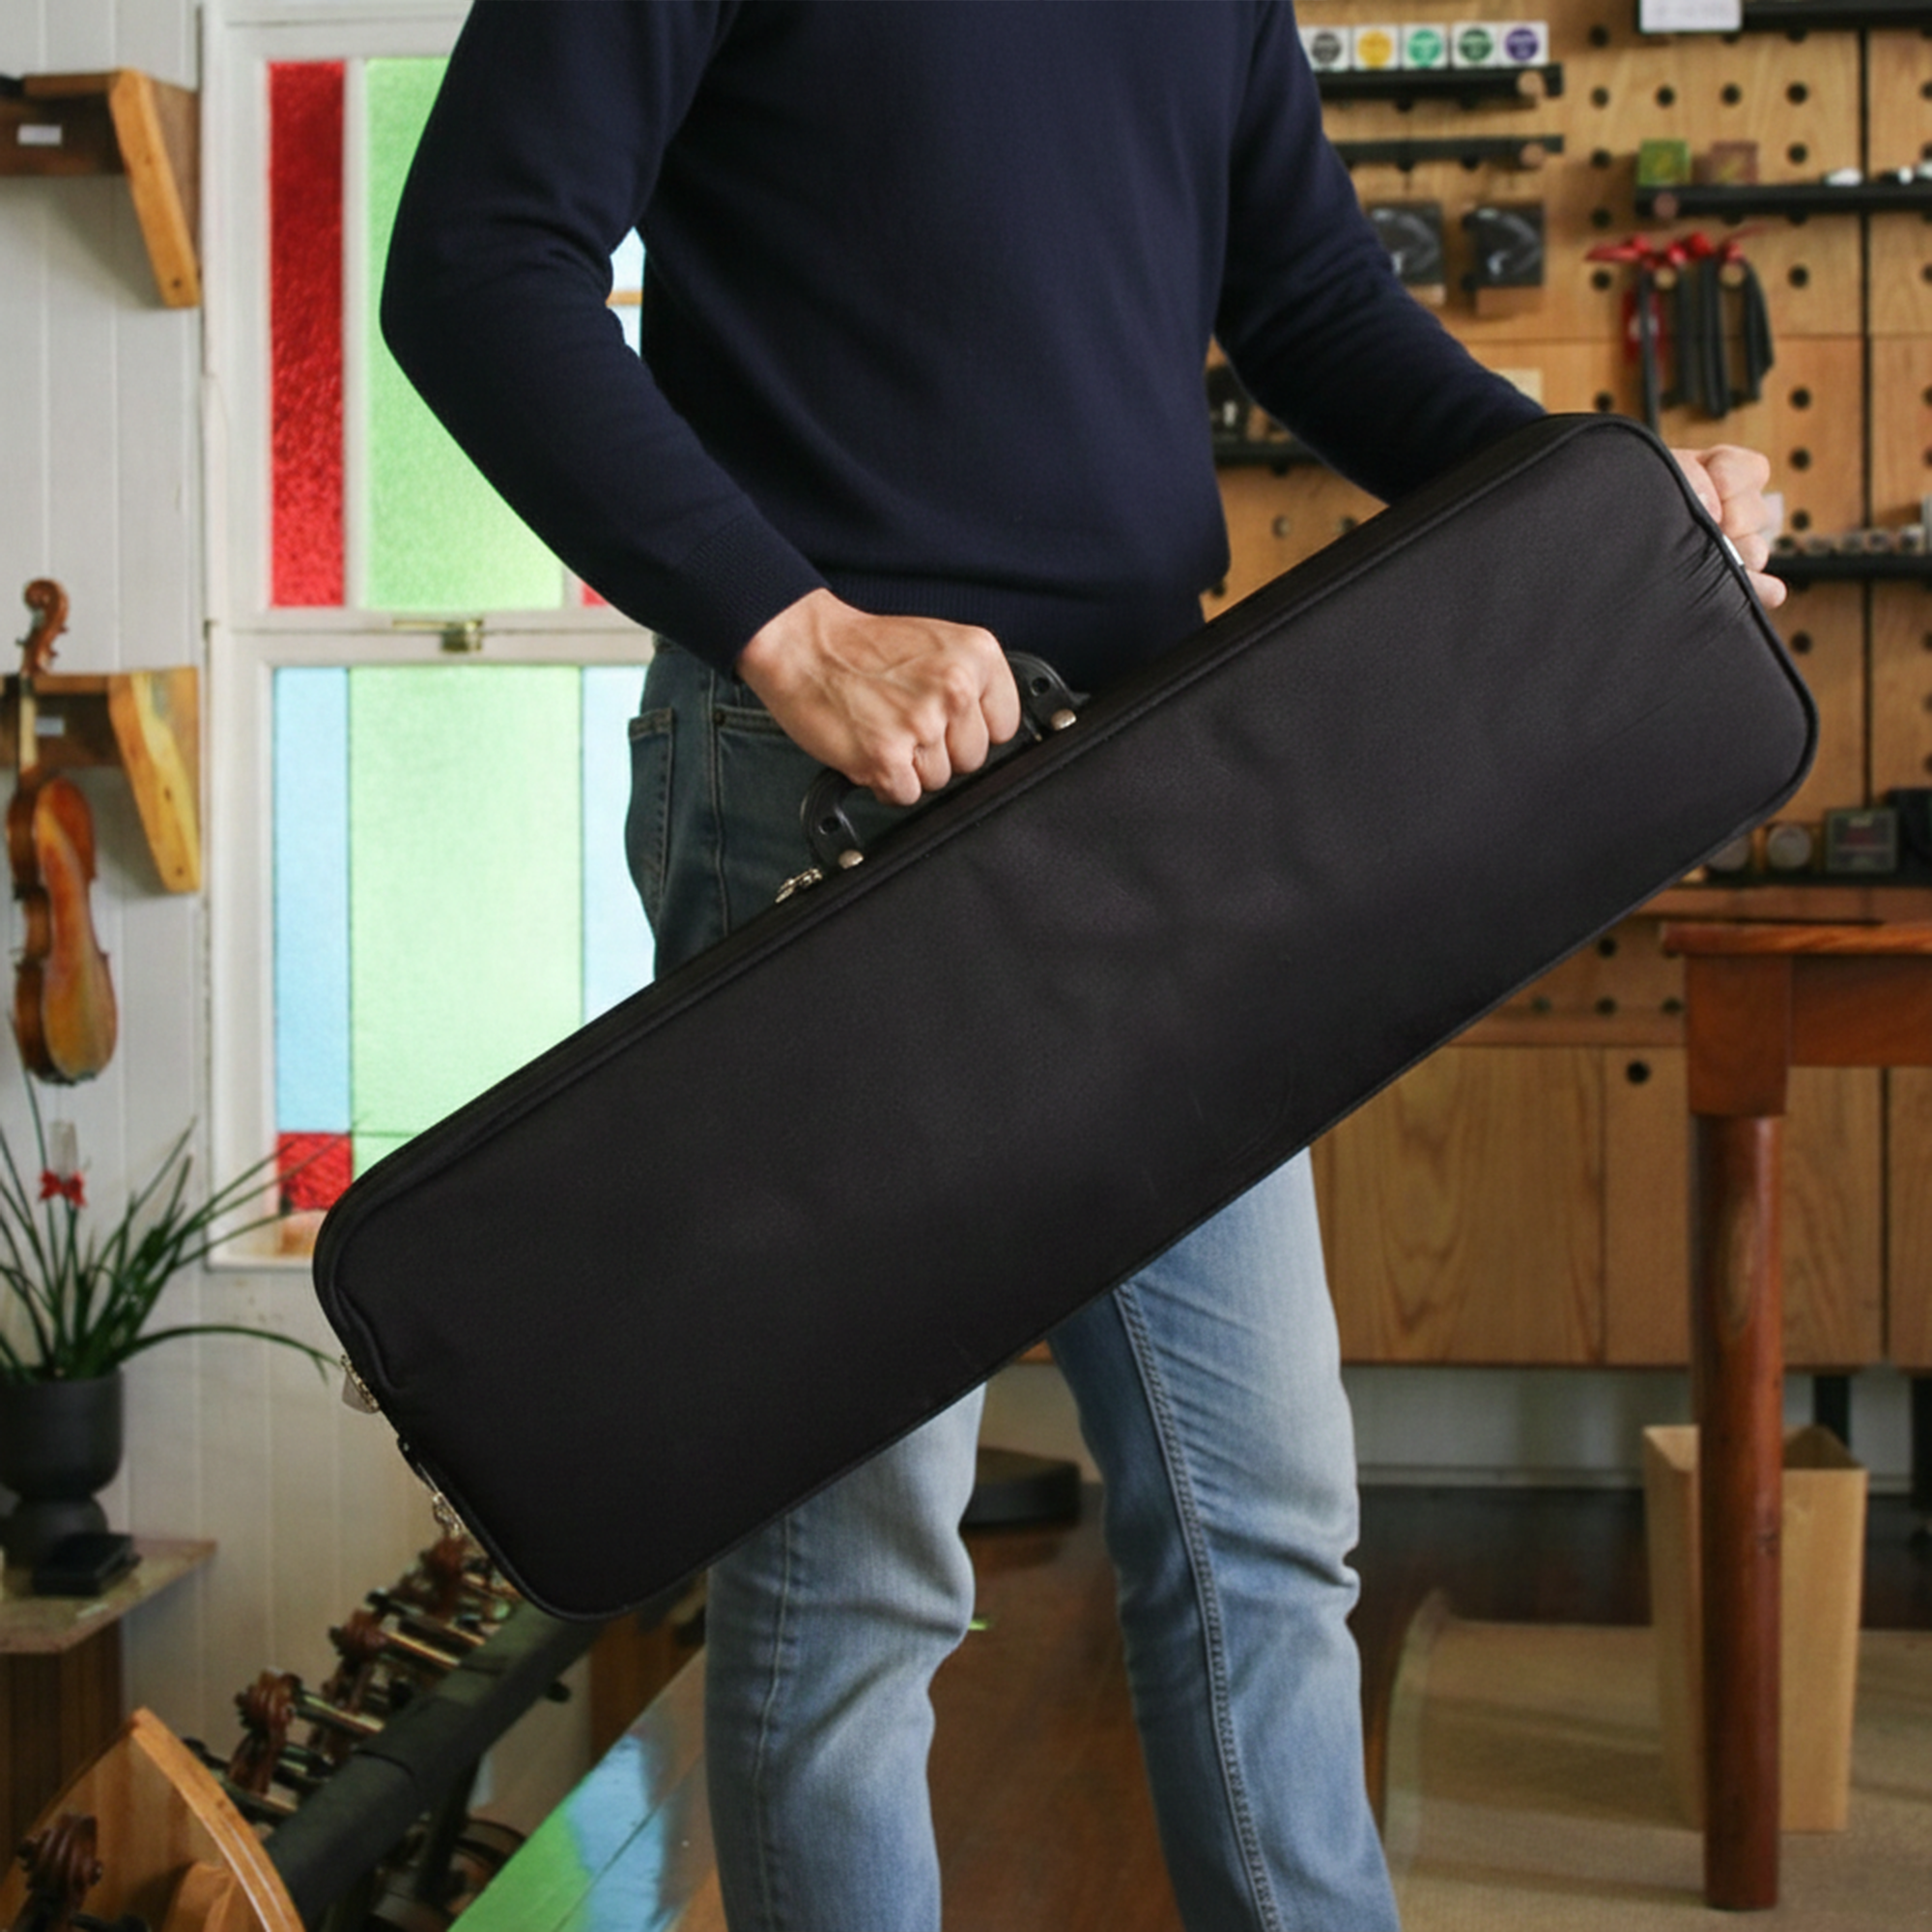
Workshop and luthier-crafted bows
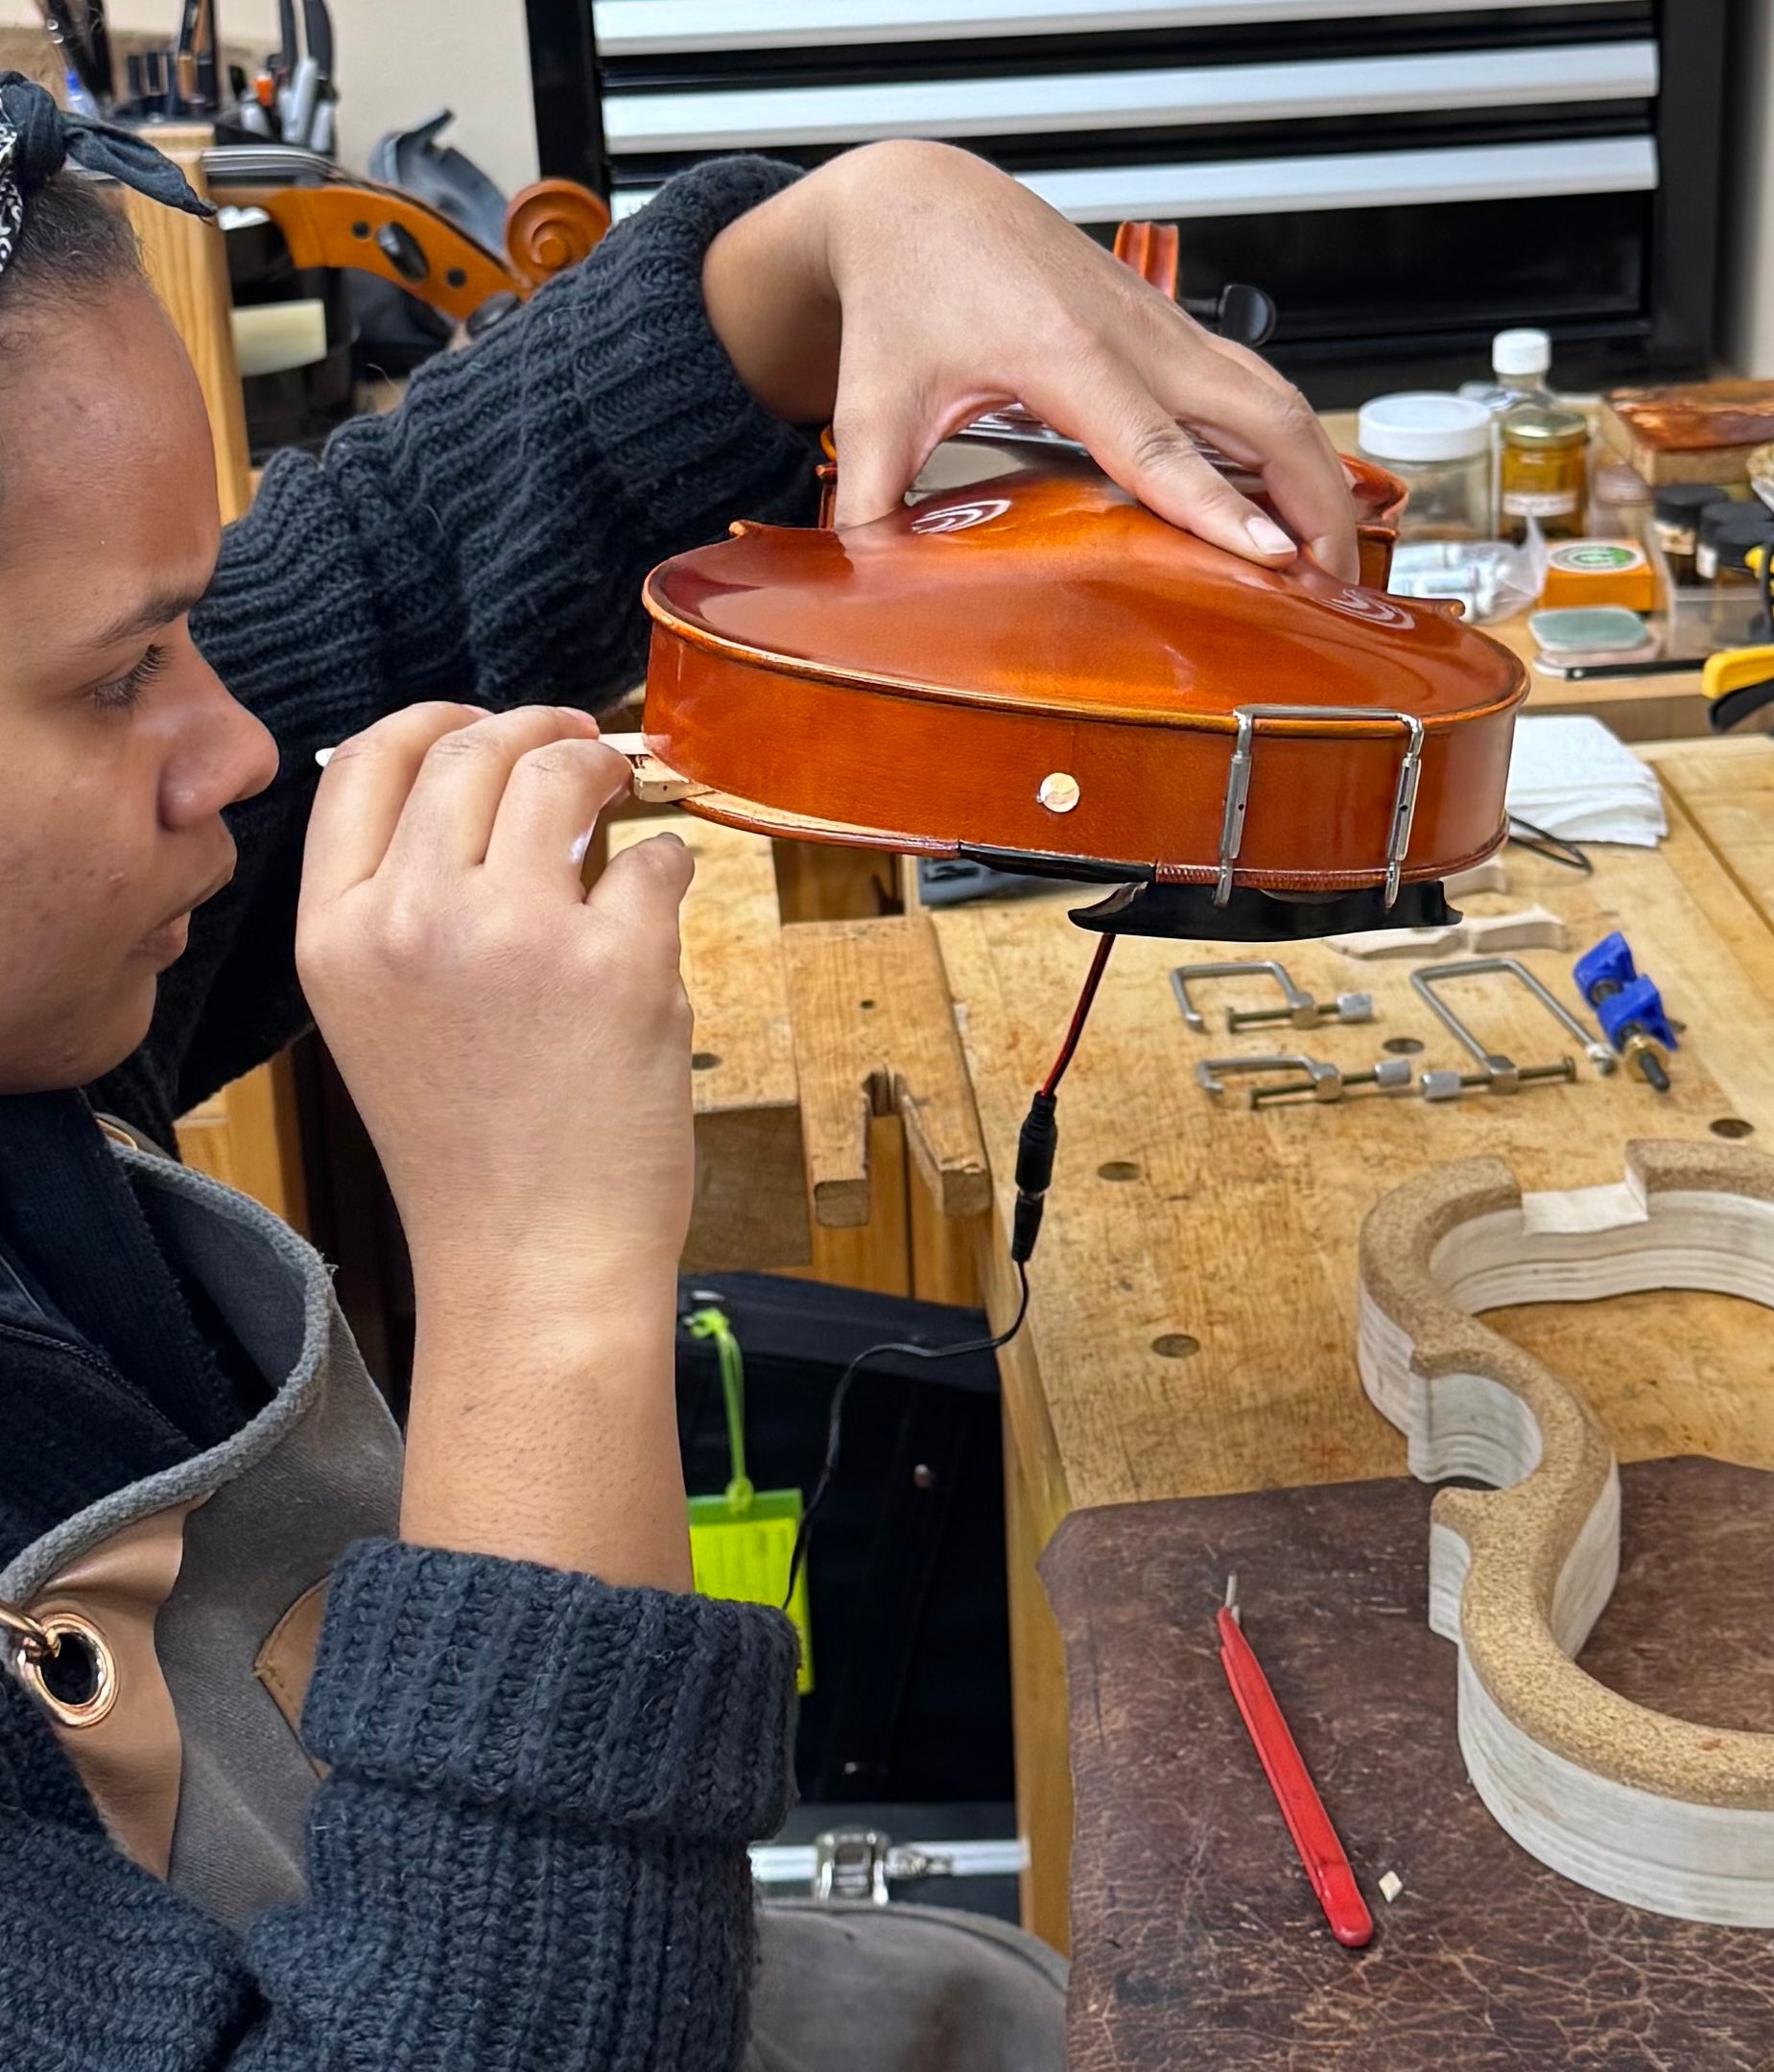
Our partners in Germany, Romania, and the Czech Republic build instruments known for stability, tone, and long-term value — and every instrument is finely adjusted in-house for optimal playability.
Whether you're upgrading from a rental or searching for a lifetime instrument, we’ll guide you every step of the way.
Rental Program
High-Quality Instruments for Students of Every Level
Our rental program is built around one core principle: Students should learn on instruments that make them sound good from day one.
That’s why our rentals are:
- Crafted in established workshops across Europe and select international ateliers, each chosen for consistency, materials, and reliability.
- The same quality we use in our step-up and sales inventory
- Professionally set up in-house for comfort, tone, and responsiveness
We work with select makers and workshops whose standards for craftsmanship, materials, and consistency match our own.
Our Manufacturing & Workshop Partners
★★★★★
Our Happy Customers
nstrument Upgrade Customer
They shipped my beautiful Canzona violin within a couple hours. Amazing! The instrument blew my son's teacher away. For the price, the sound and setup were increible!
John Z.
Father of a student
Fast shipping, great pricing, and answered all my questions. The violin came within just a few days, and the sound is perfect. . . exactly what we had hoped!
Michael C.
Workshop Client
Amazing job in repairing my violin! I took it here to get my bow re-haired. I also had my bridge lowered. I love the work they did and I’m so happy to have found this place for all my violin needs!! I very highly recommend this store. They are highly professional people and I will definitely be coming back as a repeat customer!!
Emily M.
Frequently Asked Questions
Normal usage will eventually cause both the peg and the peg hole to wear, which may result in the pegs slipping or sticking, making tuning difficult. Ordinary chalk, applied to the areas of contact between the peg and peg box (which show up as shiny areas on the peg shaft), can help provide more grip. The operation of pegs that stick or are difficult to rotate may be improved by the use of peg dope or lead from a soft graphite pencil applied to the contact areas. Eventually, pegs may wear to the extent that replacement pegs will need to be fitted by a qualified repair person.
While there are more precise methods of determining proper bridge location, an approximate placement can be achieved by aligning the feet of the bridge between the inner notches of the f-holes. If the bridge has been knocked off the instrument, do not attempt to replace the bridge before first checking to see that the instrument is undamaged and that the sound-post has not fallen. When in doubt, have the instrument checked by a qualified repair person. Never glue the bridge to the instrument.
A relatively safe technique for straightening a bridge is to carefully pinch the string right next to the bridge between thumb and forefinger. By squeezing the fingers together and rolling them against the bridge, lateral pressure is applied against the top face of the bridge, pushing it slightly backwards (or forwards, depending on which side the pressure needs to be applied). Repeat with each string, in turn, until the bridge is once again perpendicular. If the bridge is significantly warped, have the instrument serviced promptly, before the bridge collapses or breaks.
Better to have avoided this situation in the first place, by having checked that the bridge was perpendicular after each tuning; it is easier (and less traumatic) to correct a slight bridge lean, than have to address a situation where the bridge is substantially tilted and the feet are no longer in full contact with the top
Replace strings one at a time, to prevent the soundpost from falling, and reduce stress on the instrument itself. Before removing the old strings, inspect the area around the nut and bridge; if the strings are being pinched, or have cut deeply into the grooves (they may even be flush with the top of the nut or bridge!), take the instrument to a qualified repair person for service. The strings should rest roughly a third of the way into the grooves.
After removing the old string, check the grooves in the nut and bridge for wear or sharp edges. A bit of soft pencil lead applied in the grooves will reduce friction and help the string slide smoothly over the bridge or nut.
When string adjusters are not being used, pass replacement strings through the tailpiece holes from underneath the tailpiece. The string should then extend straight from the tailpiece hole, over the saddle or fret, to the bridge – do not thread the string back through the ball or loop at the end of the string. Wind the string on the pegs so that the string passes over the peg and not under it, and progresses from the peg hole towards the peg box walls. Make sure that the string does not overlap or cross over itself, nor contact the peg box wall.
Whether steel, nylon, or gut, take the time to gradually bring the string up to pitch. Avoid over-tuning, which may damage the strings, and guard against the top of the bridge being pulled forwards as new strings are being brought up to pitch.
String adjusters, or fine tuners, need only be used when steel core strings are installed on an instrument. The relative elasticity of gut and synthetic core strings obviates the need for fine tuners with these more pliant core materials. E-strings in synthetic or gut core violin sets typically have a metal core, and E-string adjusters should always be installed with these strings.
For ease of tuning, many educators do request four fine tuners regardless of the type of string being used. Special wide slot string adjusters are commonly available for synthetic and gut core strings. Alternatively, the slot on a standard string adjuster may be carefully spread to accommodate the slightly thicker synthetic or gut core strings.


